Video Monitoring of the Beamline
Overview
The video widget allows users of all macromolecular crystallography beamlines
at SSRL to view real-time video streams of samples and beamline equipment, for
general purpose sample and instrumentation monitoring. Live video is
avilable from the hutch, sample and screening tabs in Blu-Ice.
The Sample, Hutch and Robot cameras are located inside the experimental hutch;
the Panel camera is outside the hutch.
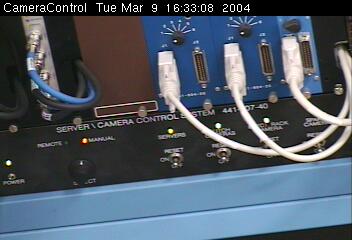
- The cameras can be turned off,
ensuring privacy, by pushing the power switch to the "off" position on the
"Server/Camera Control System" module in the main control rack shown in
this picture. Note, however, that the Sample camera is used by the crystal centering
operations (click to center and automated loop centering) and must not
be turned off.
|
|
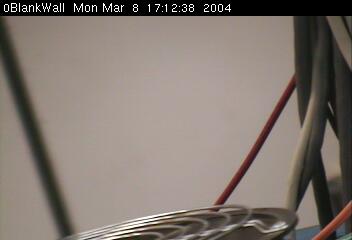 |
- The camera can be turned to a blank wall if privacy
is wanted momentarily. Note In this mode, the camera is still active and can be moved by staff or other
members of your group by using a passive Blu-Ice client.
|
The Hutch and Robot cameras show videos of the equipment inside the experimental hutch.
The panel cameras show pictures of the electronics rack outside the hutch.
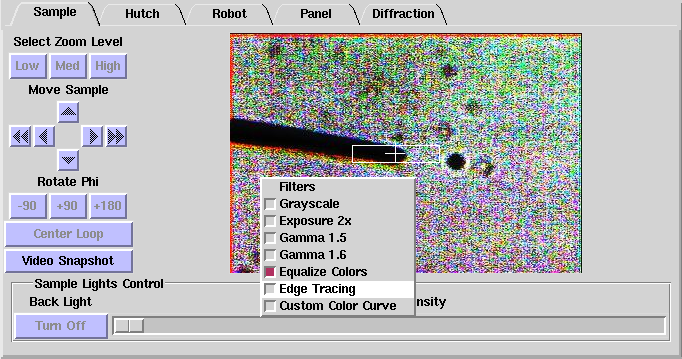
Video Filters
Several video filters are available from Blu-Ice. Sometimes they can be
useful to locate difficult to see samples. The video filters can be
activated on any video feed in Blu-Ice by right clicking
on the video and selecting an appropriate filter. It is possible to
select more than one filter at a time.
The filters available are:
- Grayscale: "Back and white" display
- Exposure 2X: Simulates an exposure value of 2.0.
- Gamma 1.5 and Gamma 1.6: See http://en.wikipedia.org/wiki/Gamma_correction.
The gamma corrections tend to brighten the dark pixels.
- Edge tracing: Detects the edges in the video and
traces them.
- Equalize colors: Equalizes the presence of all portions of the color spectrum.
- Custom color curve: This filter tends to increase the contrast of the image.
Hutch Presets
Several preset views of the experimental table (Overview, Cryostream, Phi, Kappa, and Omega)
can be selected from the Hutch tab. On some beamlines, the Hutch
camera also shows views of the Robot.
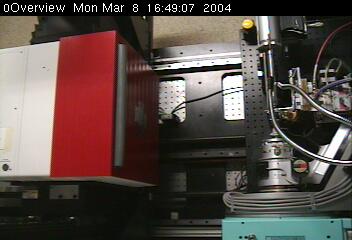
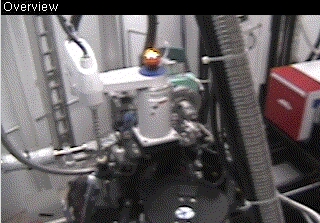
- Overview shows part of the hutch table, including the detector positioner, sample, cryostream and diffractometer. This can be useful to check if there will be any equipment collisions.
|
|
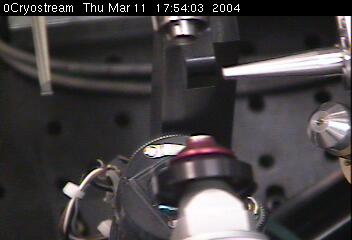 |
- Cryostream shows the end of the nozzle, front end tail, beamstop, and the
guard shield. This is useful to monitor ice formation around the sample and to view how far the cryostream
and beamstop are from the sample.
|
- Phi shows the phi motor scale for the goniometer. The scale value does not
match the Blu-ice value normally since Omega is normally set at 270 degrees.
The scale value in this case should read 90 degrees less than the 'true' phi value in
Blu-Ice.
|

|
|
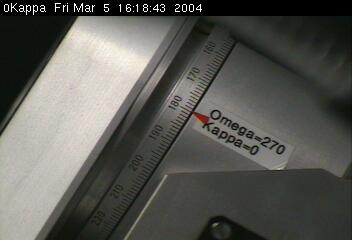
- Kappa shows the kappa motor scale for the goniometer. You will only see the kappa
scale when omega is set to 270 degrees. The true value of kappa will be 180 degrees less
than what is shown.
- Important: In Blu-ice, if Kappa is set to a value other than zero, you should
collect data with Omega.
|
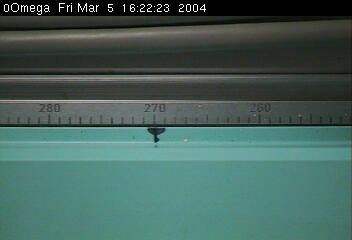
- Omega shows the omega motor scale for the goniometer.
|
|
Robot Presets
Preset views under the Robot tab include Overview, Hutch
Door, and Blank Wall. On some beamlines the Robot camera does not
exist, and these presets are available from the Hutch camera.
|
- Overview shows the robot during all stages of sample mounting.
|
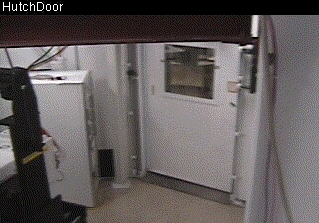
- Hutch Door - If the door is open, data cannot be collected, certain motors may
not be moved from outside the hutch and the robot will not operate.
|
|
Panel Presets
The panel presets show various modules in the electronics rack.
|
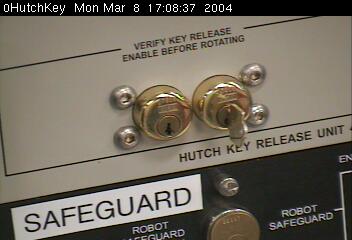
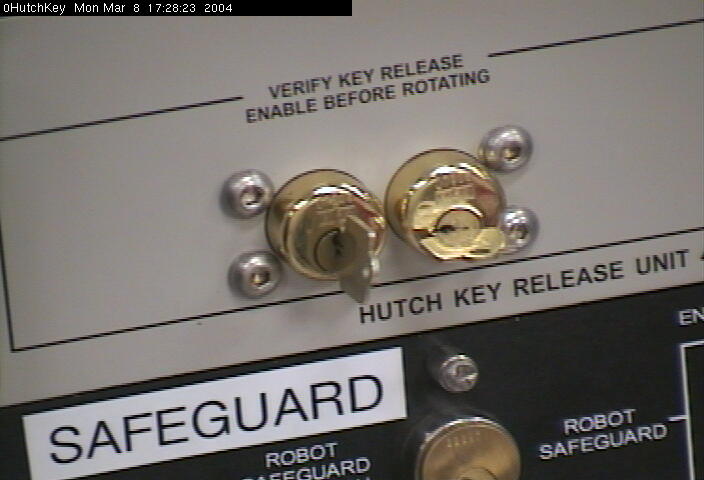
- Hutch Key shows the hutch key lock in control panel.
|
- The key needs to be in the panel and rotated 180 degrees to allow beam in the hutch, as shown in the picture.
|
|
|
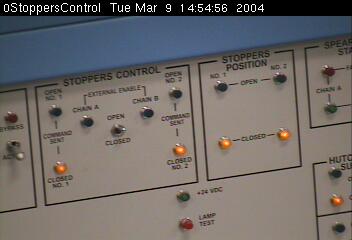
- Stoppers shows the beamline stopper indicator lights. Lights must be
green - indicating that the stoppers are open - to get beam in the hutch.
When lights are yellow (as in the picture) the beam stoppers are closed and it is safe to go inside the hutch.
|
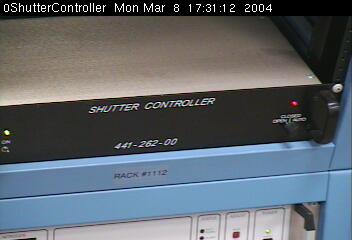
- ShutterControl shows the shutter control panel.
If the red light is on (as in the picture) the shutter is open and the beam is
hitting the sample. The switch should be set to auto.
|
|
|
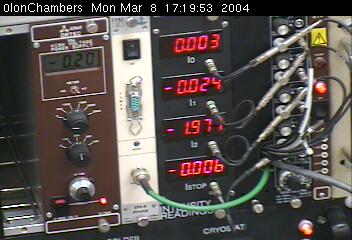
- IonChambers shows the I0, I1, I2, Ibeamstop values. This can be used to monitor beam intensity.
|
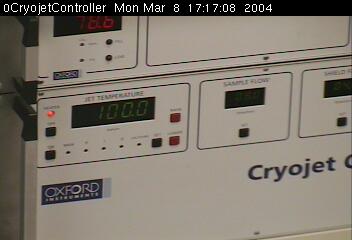
- CryojetControl shows the cryostream temperature and airflow. Temperature should be approximately 100 K.
|
|
|
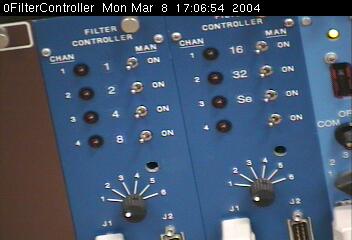
- FilterControl shows the status of the beamline absorbers.
|
- Adding or removing a filter will change the value of attenuation in the hutch tab.
A red light should be on if there is a filter in place, as seen in the picture.
|

|
|
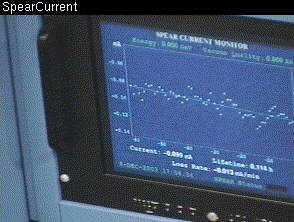
- SpearMonitor shows the current in the SPEAR3 ring in real time. This shows any current messages about SPEAR3 operation and can be used to monitor beam refills.
|
|
Taking snapshots
The Video Snapshot button can be used to save a jpeg image
of the video preset displayed in Blu-Ice. Upon clicking the button,
the program will open a window to browse and select the directory and
file name the snapshot will be saved to.

|
