
Requirements
☑ Your group must have an active SMB Unix account. SMB Unix accounts can be requested here.
☑ Make sure every team member who will log in has an SSH key for each device.
☑ Complete SSH key setup before your beamtime.
Choose an Option
I don't know how to make SSH keys:
Follow these directions to automatically generate keys and copy them to our servers.
I can make my own SSH keys:
Follow these directions to make and manually upload your keys to our servers.
Option B: Manually make and upload your public key to the SMB servers
Step 1. Generate SSH keys if you don't already have them.
If you already have SSH keys, skip to Step 2. Otherwise, follow these instructions for your operating system:
macOS/Linux
Open Terminal and run:
ssh-keygen -t rsa -b 4096 -C "your_email@example.edu"Press Enter to accept the default location (~/.ssh/id_rsa). Set a passphrase if desired.
Windows
Open PowerShell and run:
ssh-keygen -t rsa -b 4096 -C "your_email@example.edu"Press Enter to accept the default location (C:\Users\YourName\.ssh\id_rsa). Set a passphrase if desired.
macOS/Linux:
cp ~/.ssh/id_rsa ~/.ssh/id_rsa.pem && ssh-keygen -p -m PEM -N "" -f ~/.ssh/id_rsa.pemWindows (PowerShell):
Copy-Item $env:USERPROFILE\.ssh\id_rsa $env:USERPROFILE\.ssh\id_rsa.pemssh-keygen -p -m PEM -f $env:USERPROFILE\.ssh\id_rsa.pemYour public key will be located at:
- macOS/Linux: ~/.ssh/id_rsa.pub
- Windows: C:\Users\YourName\.ssh\id_rsa.pub
Step 2. Fill out this webform to upload your public SSH key.
Once you've submitted the form, you should be able to SSH into our servers without using a password.
Step 3. Configure NoMachine.
Set up NoMachine to use your SSH key by following these instructions.
id_rsa or id_ed25519 without .pub) with anyone.Option A: Automatically generate keys and copy them to SMB servers
If you have not done so already, first install the NX Client following these instructions.
Choose Your Operating System
| Operating System | Instructions |
|---|---|
| macOS | macOS Instructions |
| Windows | Windows Instructions |
| Linux | Linux Instructions |
macOS Instructions
Step 1. Open a Terminal window.
On a Mac, you can open the Terminal app by navigating to Finder → Applications → Utilities → Terminal.app.
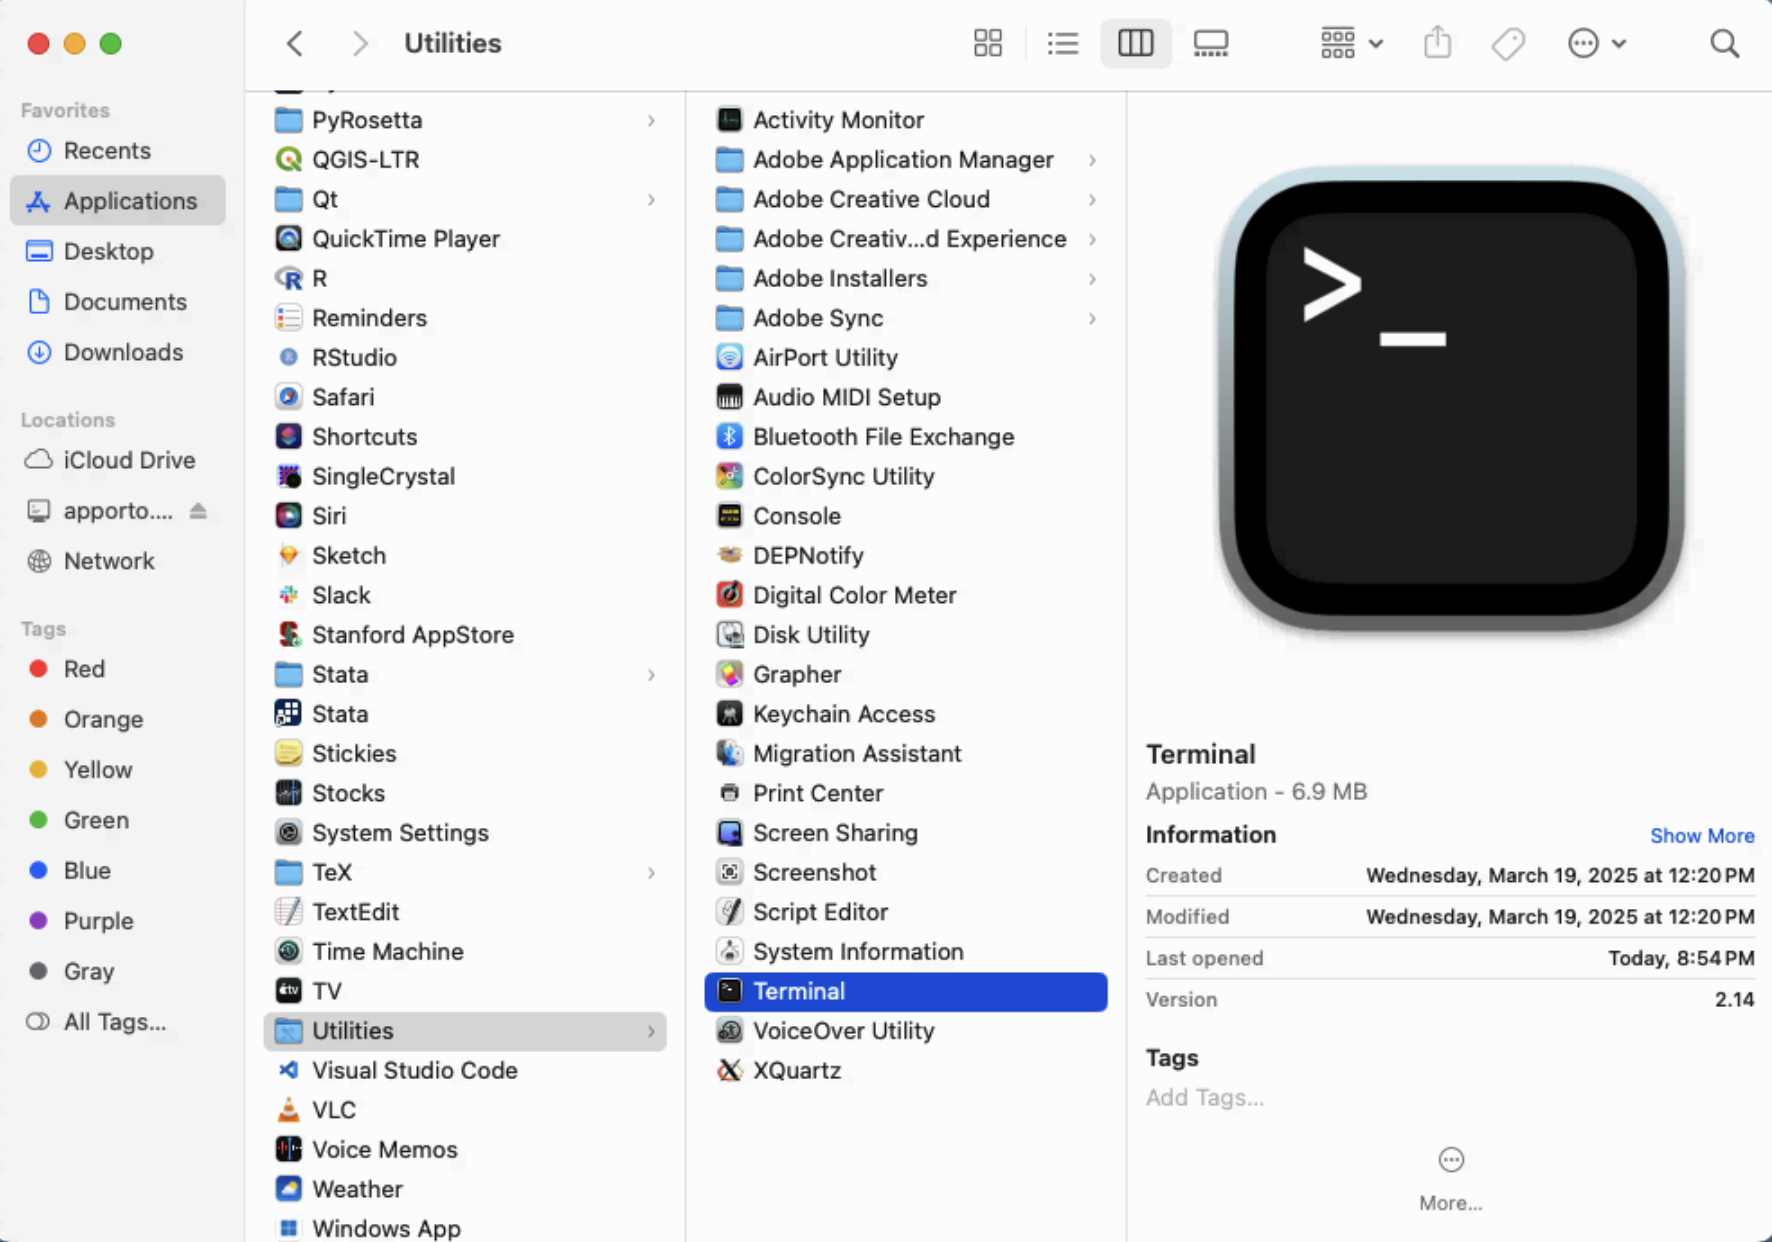
This is what your Terminal app should look like once launched:
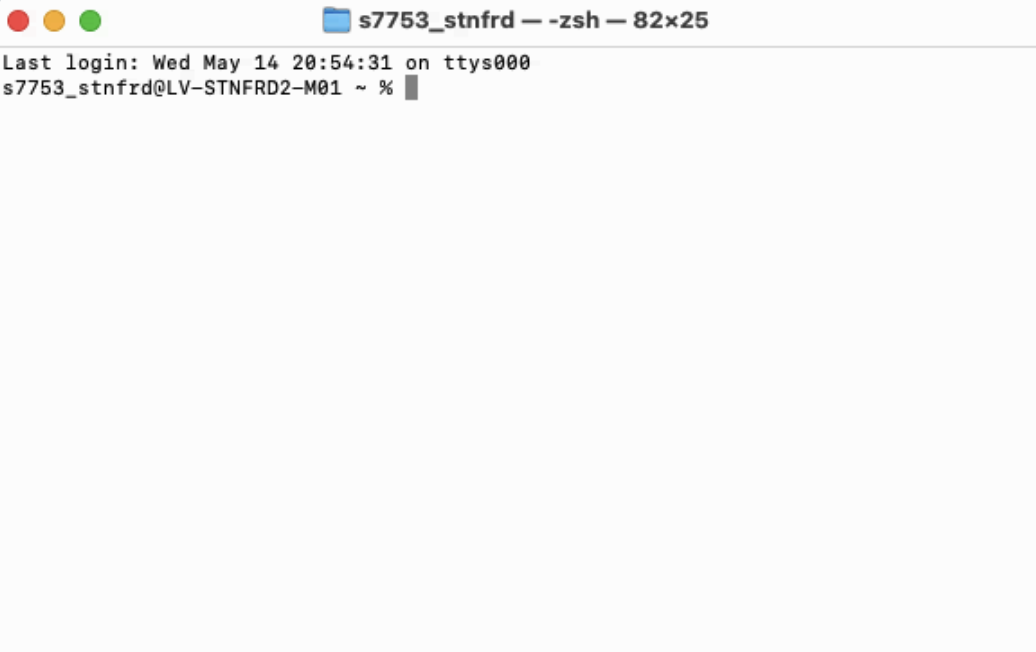
Step 2. Copy and paste the following into the Terminal and press Enter:
curl -s -k https://smb.slac.stanford.edu/SSH/ssh_key_setup | bashYour terminal should look something like this:
First, the script checks for a public key and creates one if needed.
Step 3. You will be prompted to enter your SMB Unix account username. Please type the username and press Enter.

Step 4. Type the password to your SMB Unix account and press Enter.

Step 5. Type your email address (e.g., jdoe@stanford.edu) and press Enter.

Step 6. Type your full name (e.g., John Doe) and press Enter.

Step 7. Type your phone number (e.g., 626-395-1234) and press Enter.

Step 8. Type your device name (e.g., MacBook Pro, Lab Workstation) and press Enter.

Step 9. Write a comment about this key installation (this step is optional) and press Enter.

At this point:
- Your public SSH key (~/.ssh/id_rsa.pub) has been copied to your ~/.ssh directory on the SMB servers and saved in a file called authorized_keys associated with your account.
- You've created a copy of your key (
id_rsa) in.pemformat, for convenience when using FileZilla to transfer files. - You've generated NoMachine configuration files for
smbnxs1andsmbnxs2, enabling key-based SSH connections to our servers.

Your public SSH key has been successfully added to the SMB servers! You should now be able to log in via SSH without entering a password.
Manage your group’s SSH keys at this website.
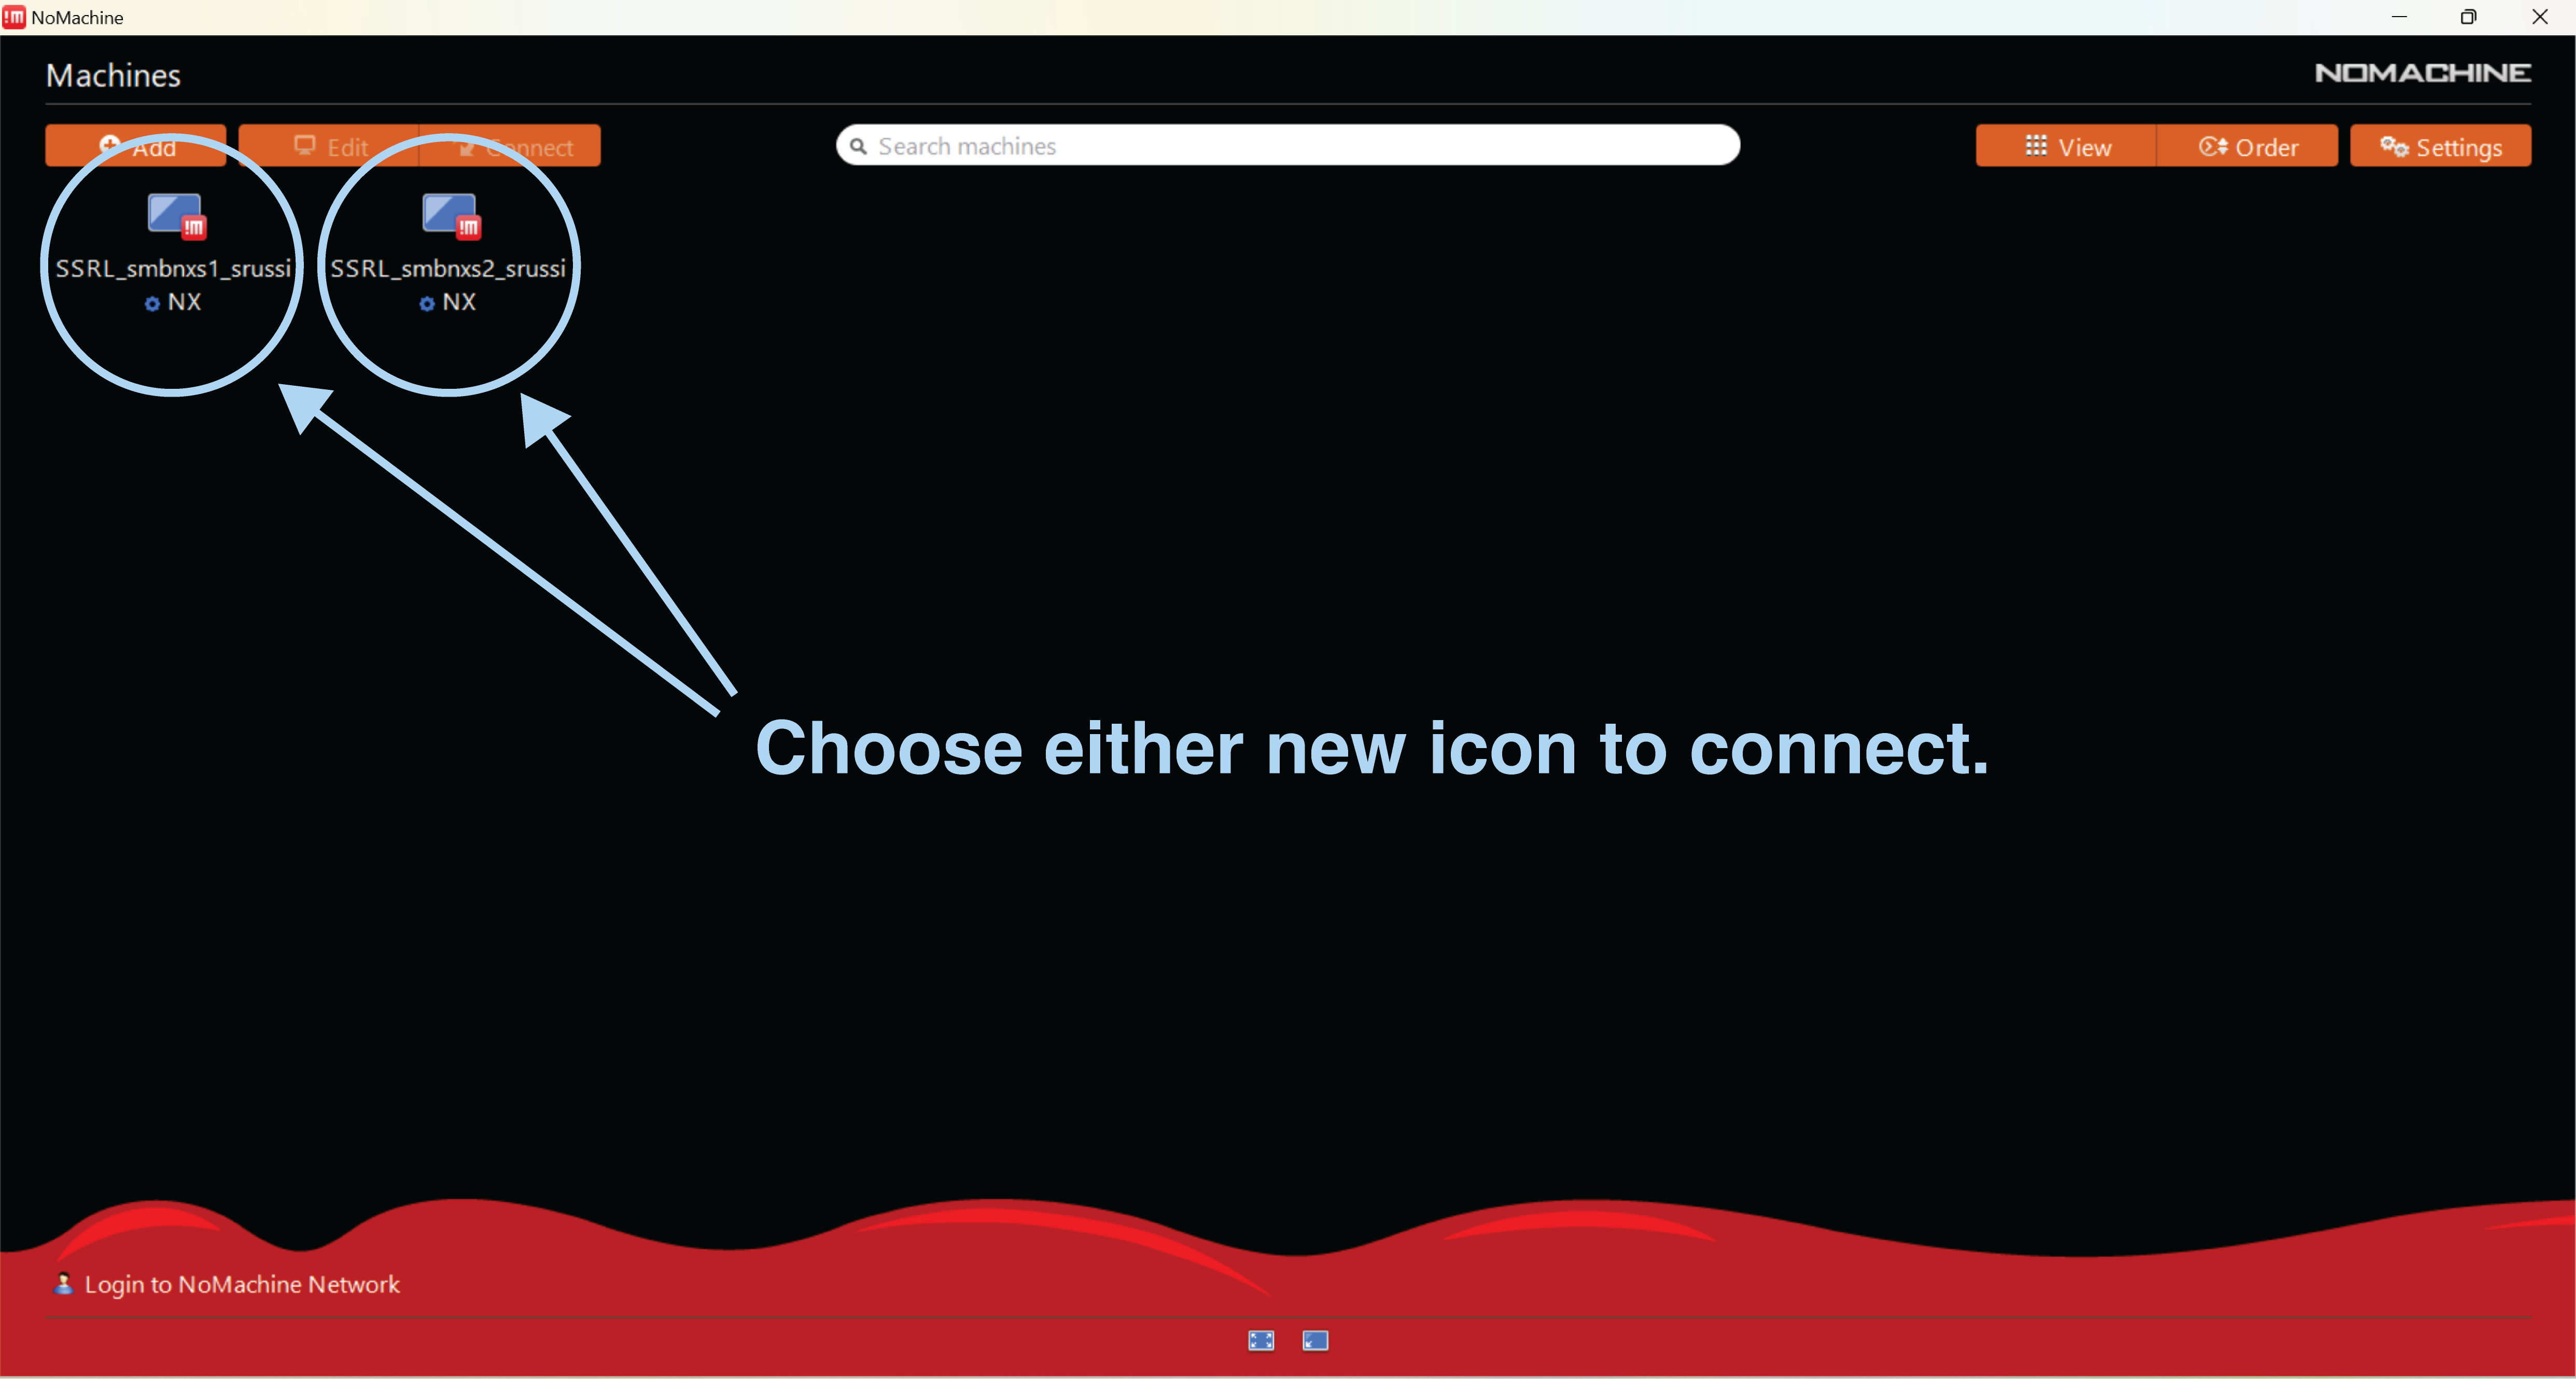
Step 10. Open NoMachine and click on either of the newly created icons (SSRL_smbnxs1_username or SSRL_smbnxs2_username) to log in.
Windows Instructions
Step 1. Open PowerShell.
You can do this by clicking the Start Menu and typing PowerShell, then pressing Enter.
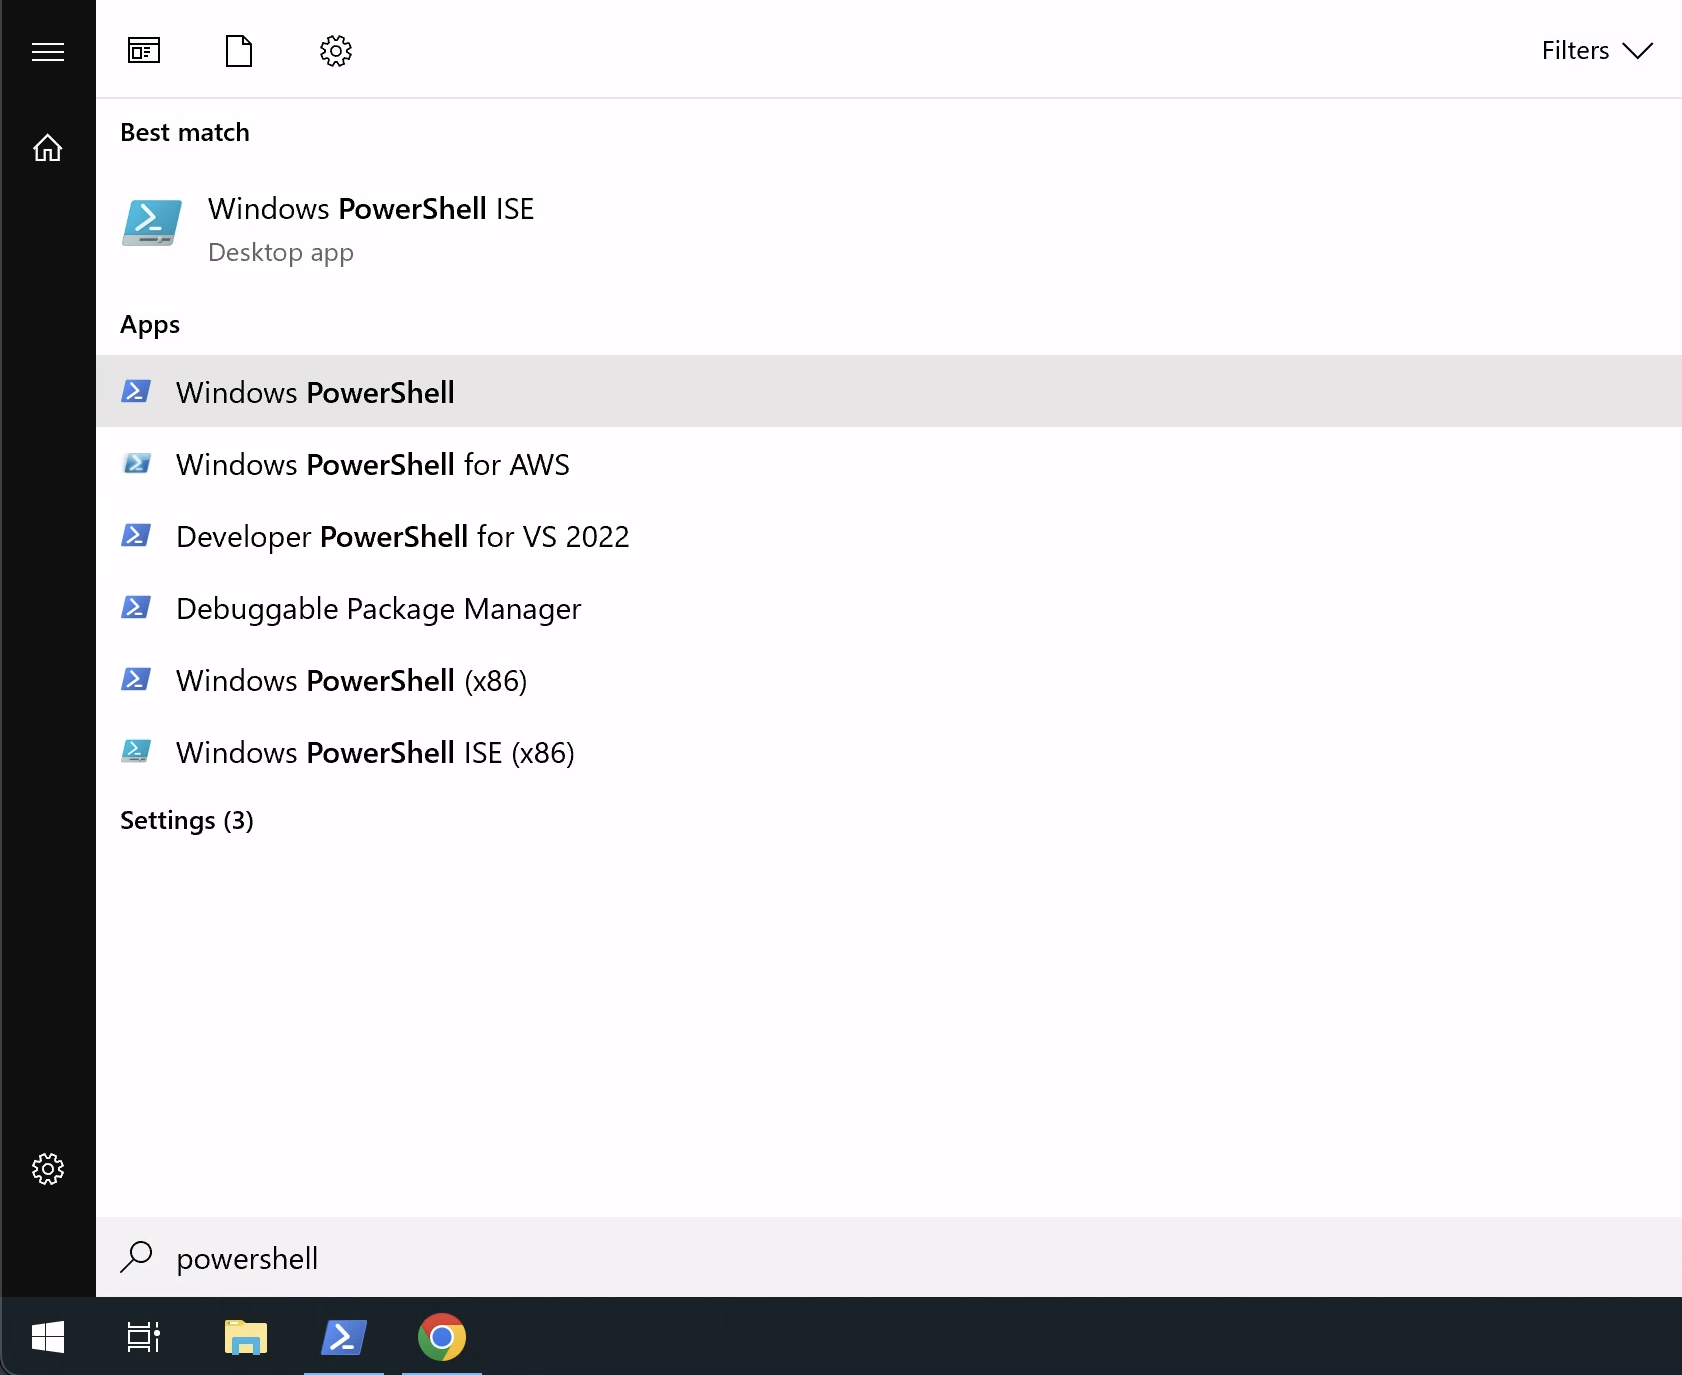
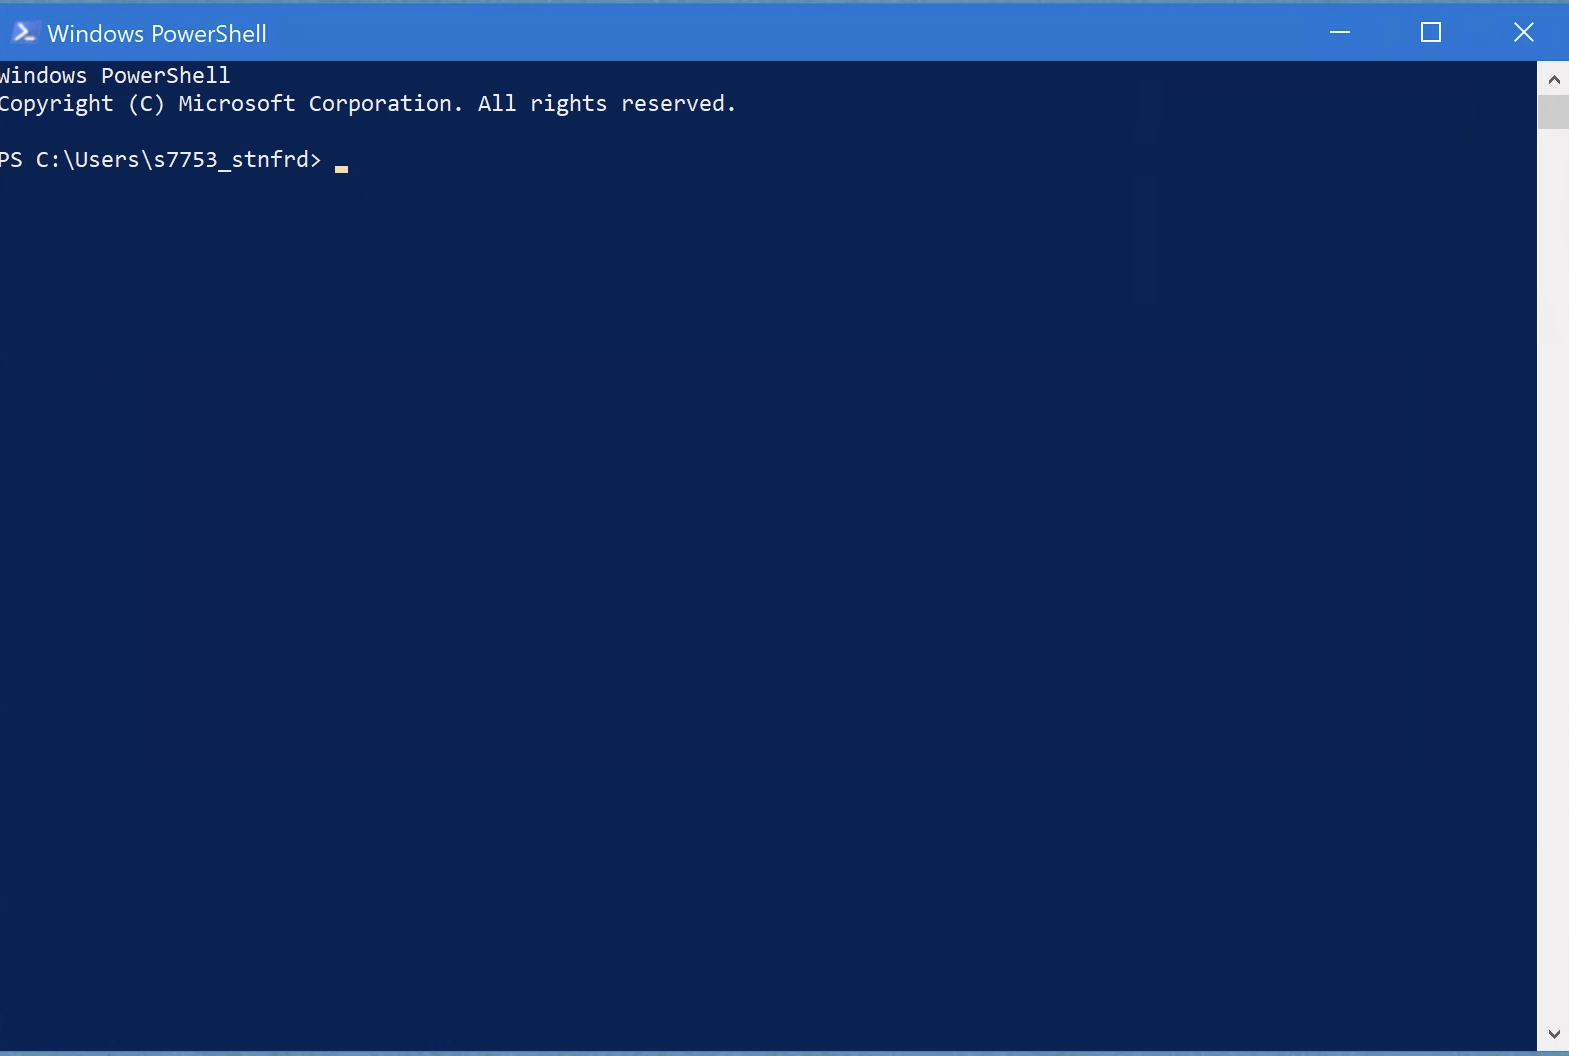
This is what your PowerShell app should look like once launched:
Step 2. Copy and paste the following into PowerShell and press Enter:
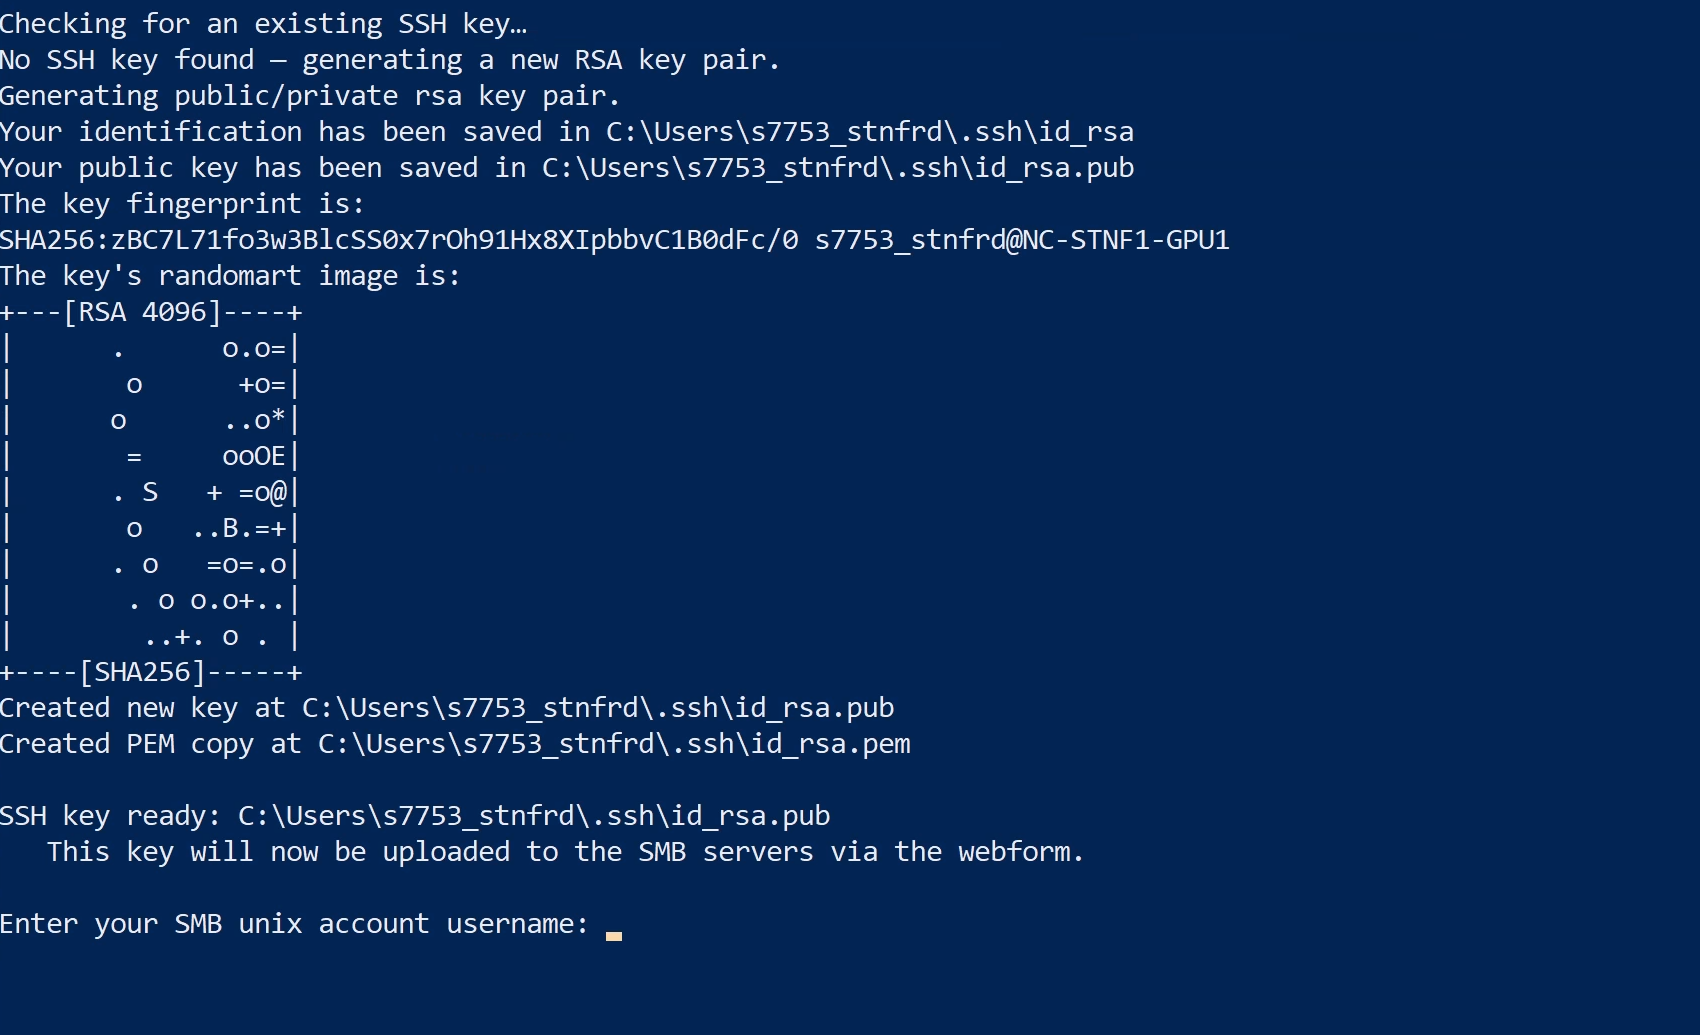
powershell -NoProfile -ExecutionPolicy Bypass -Command "irm https://smb.slac.stanford.edu/SSH/ssh_key_setup_windows | iex"Your terminal should look something like this:

First, the script checks for a public key and creates one if needed.
Step 3. You will be prompted to enter your SMB Unix account username. Please type the username and press Enter.
Step 4. Type the password to your SMB Unix account and press Enter.

Step 5. Type your email address (e.g., jdoe@stanford.edu) and press Enter.

Step 6. Type your full name (e.g., John Doe) and press Enter.

Step 7. Type your phone number (e.g., 626-395-1234) and press Enter.

Step 8. Type your device name (e.g., MacBook Pro, Lab Workstation) and press Enter.

Step 9. Write a comment about this key installation (this step is optional) and press Enter.

At this point:
- Your public SSH key (~/.ssh/id_rsa.pub) has been copied to your ~/.ssh directory on the SMB servers and saved in a file called authorized_keys associated with your account.
- You've created a copy of your key (
id_rsa) in.pemformat, for convenience when using FileZilla to transfer files. - You've generated NoMachine configuration files for
smbnxs1andsmbnxs2, enabling key-based SSH connections to our servers.
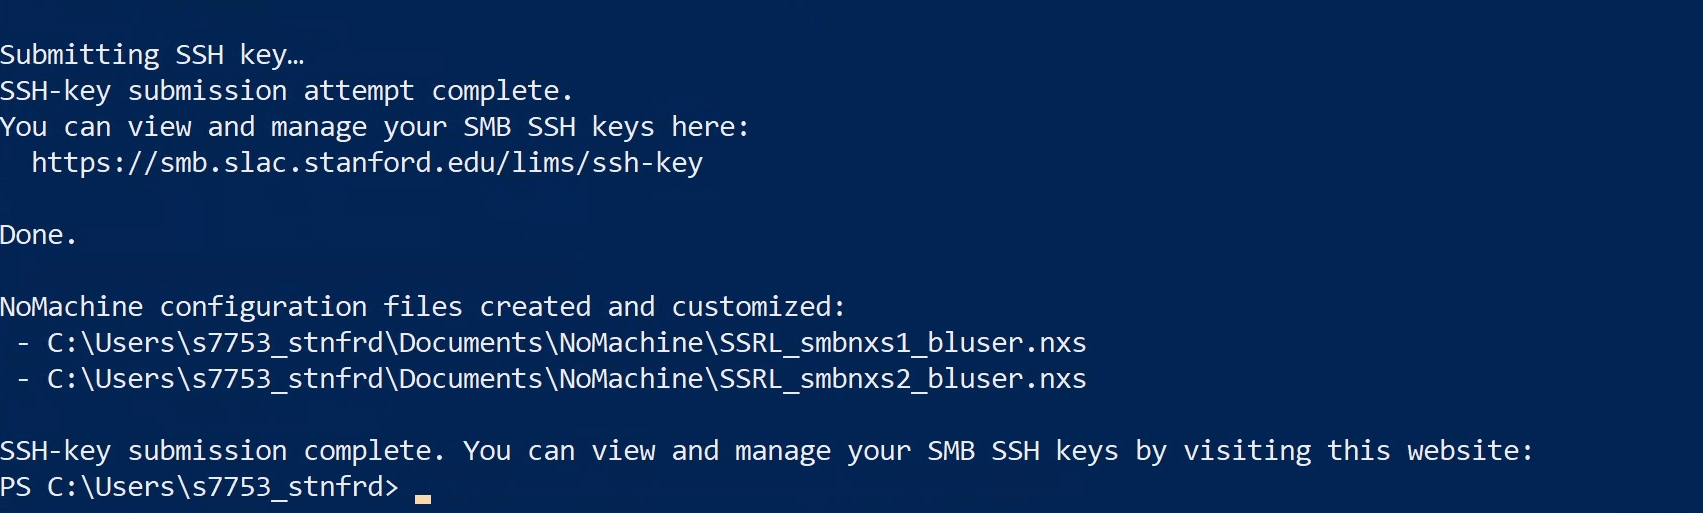
Your public SSH key has been successfully added to the SMB servers! You should now be able to log in via SSH without entering a password.
Manage your group’s SSH keys at this website.
Step 10. Open NoMachine and click on either of the newly created icons (SSRL_smbnxs1_username or SSRL_smbnxs2_username) to log in.
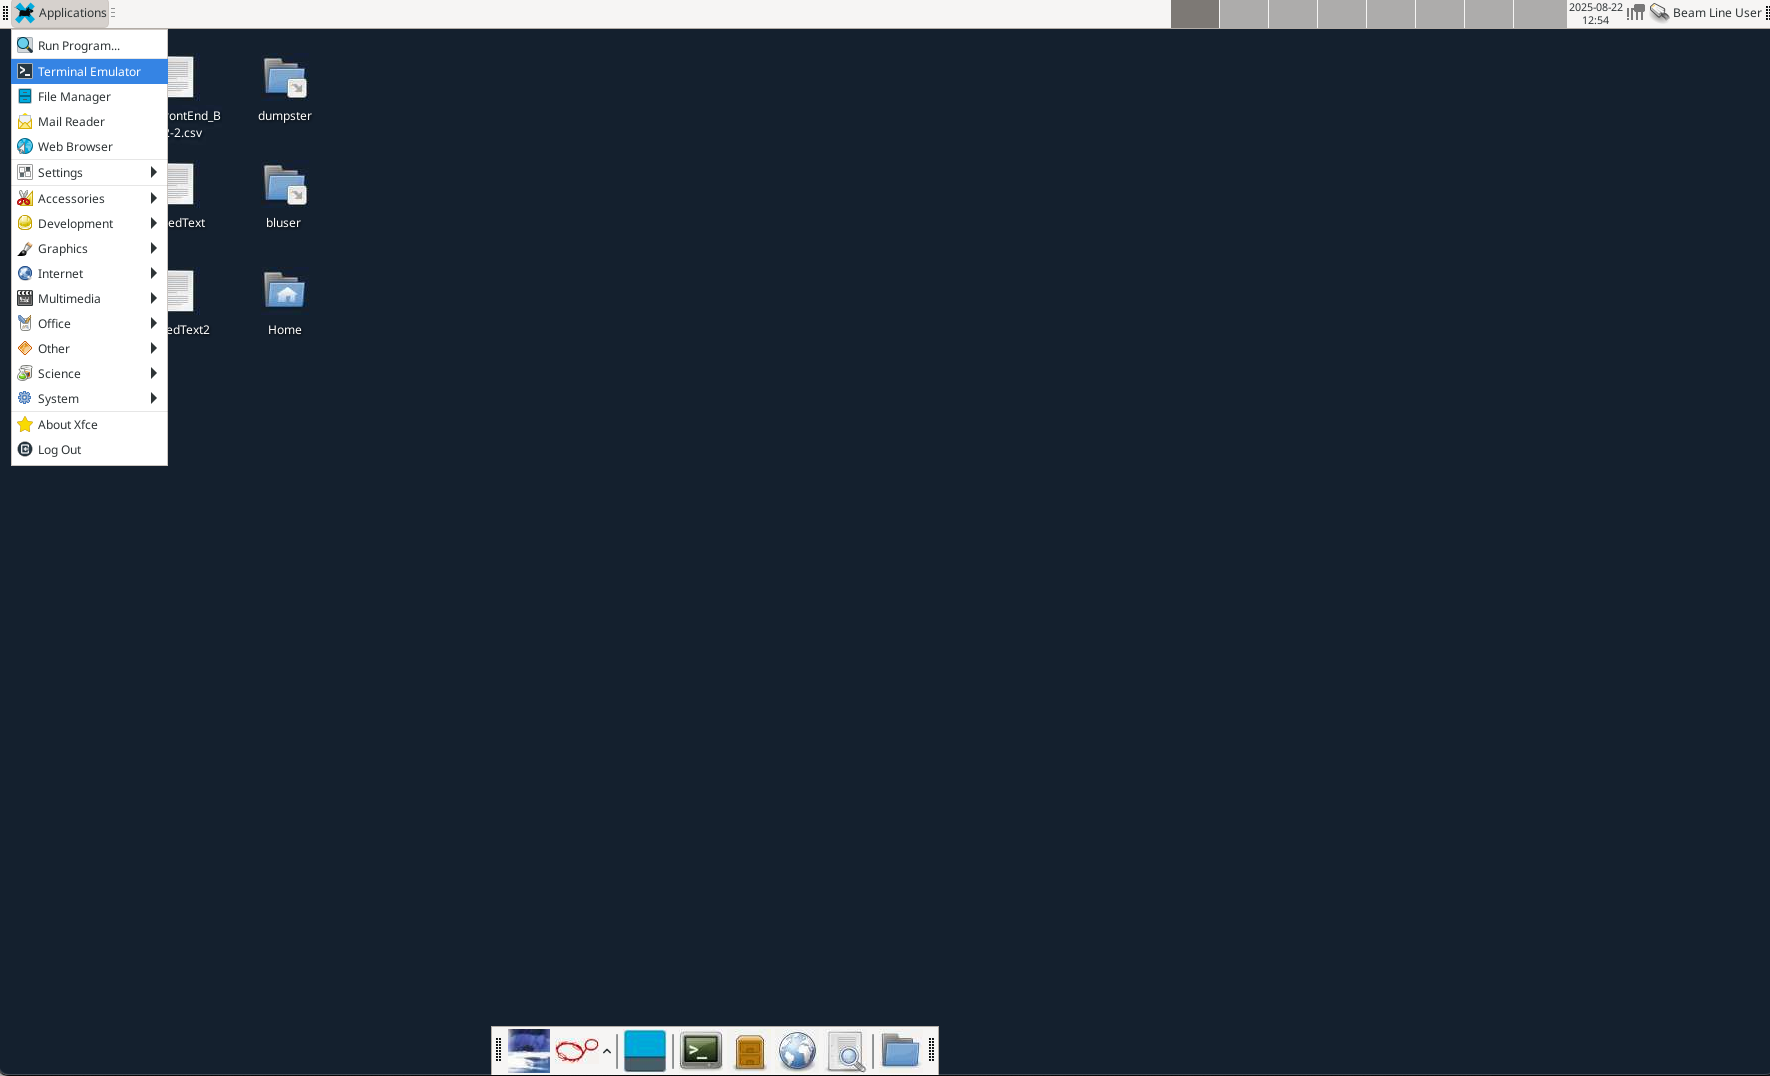
Linux Instructions
Step 1. Open a Terminal window.
On Linux, you can open a Terminal by navigating to Applications → Terminal Emulator.
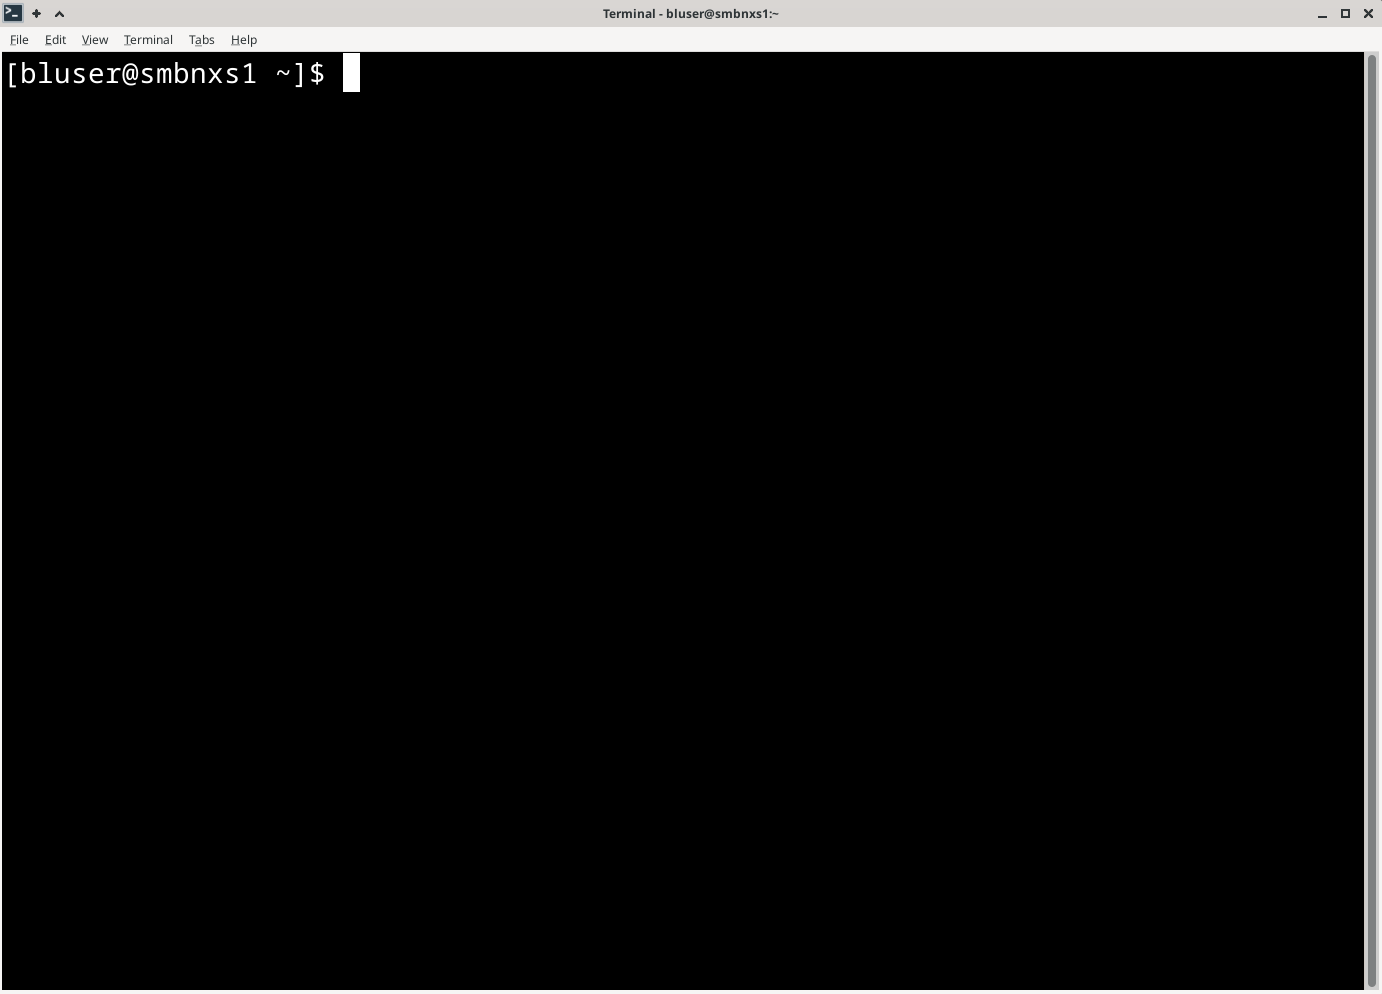
This is what your Terminal should look like once launched:
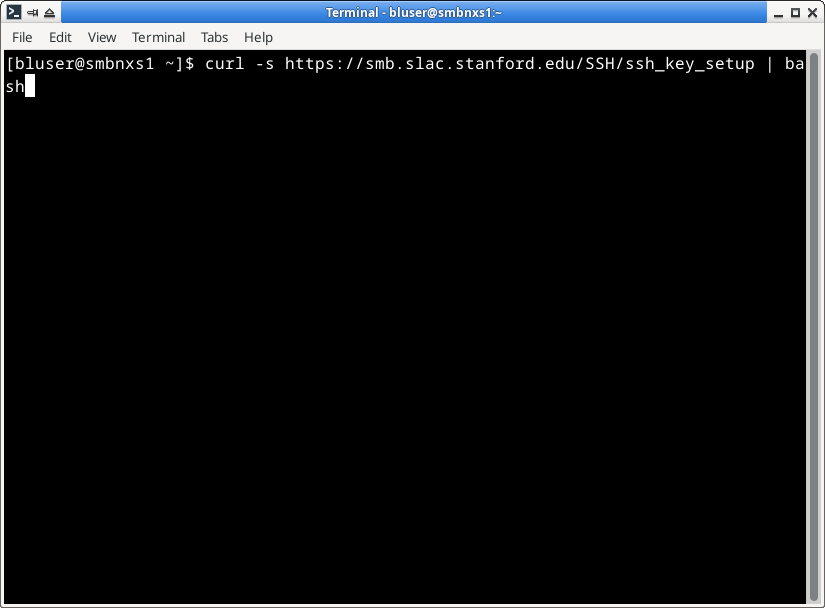
Step 2. Copy and paste the following into your Terminal and press Enter:
curl -s https://smb.slac.stanford.edu/SSH/ssh_key_setup | bashYour terminal should look something like this:
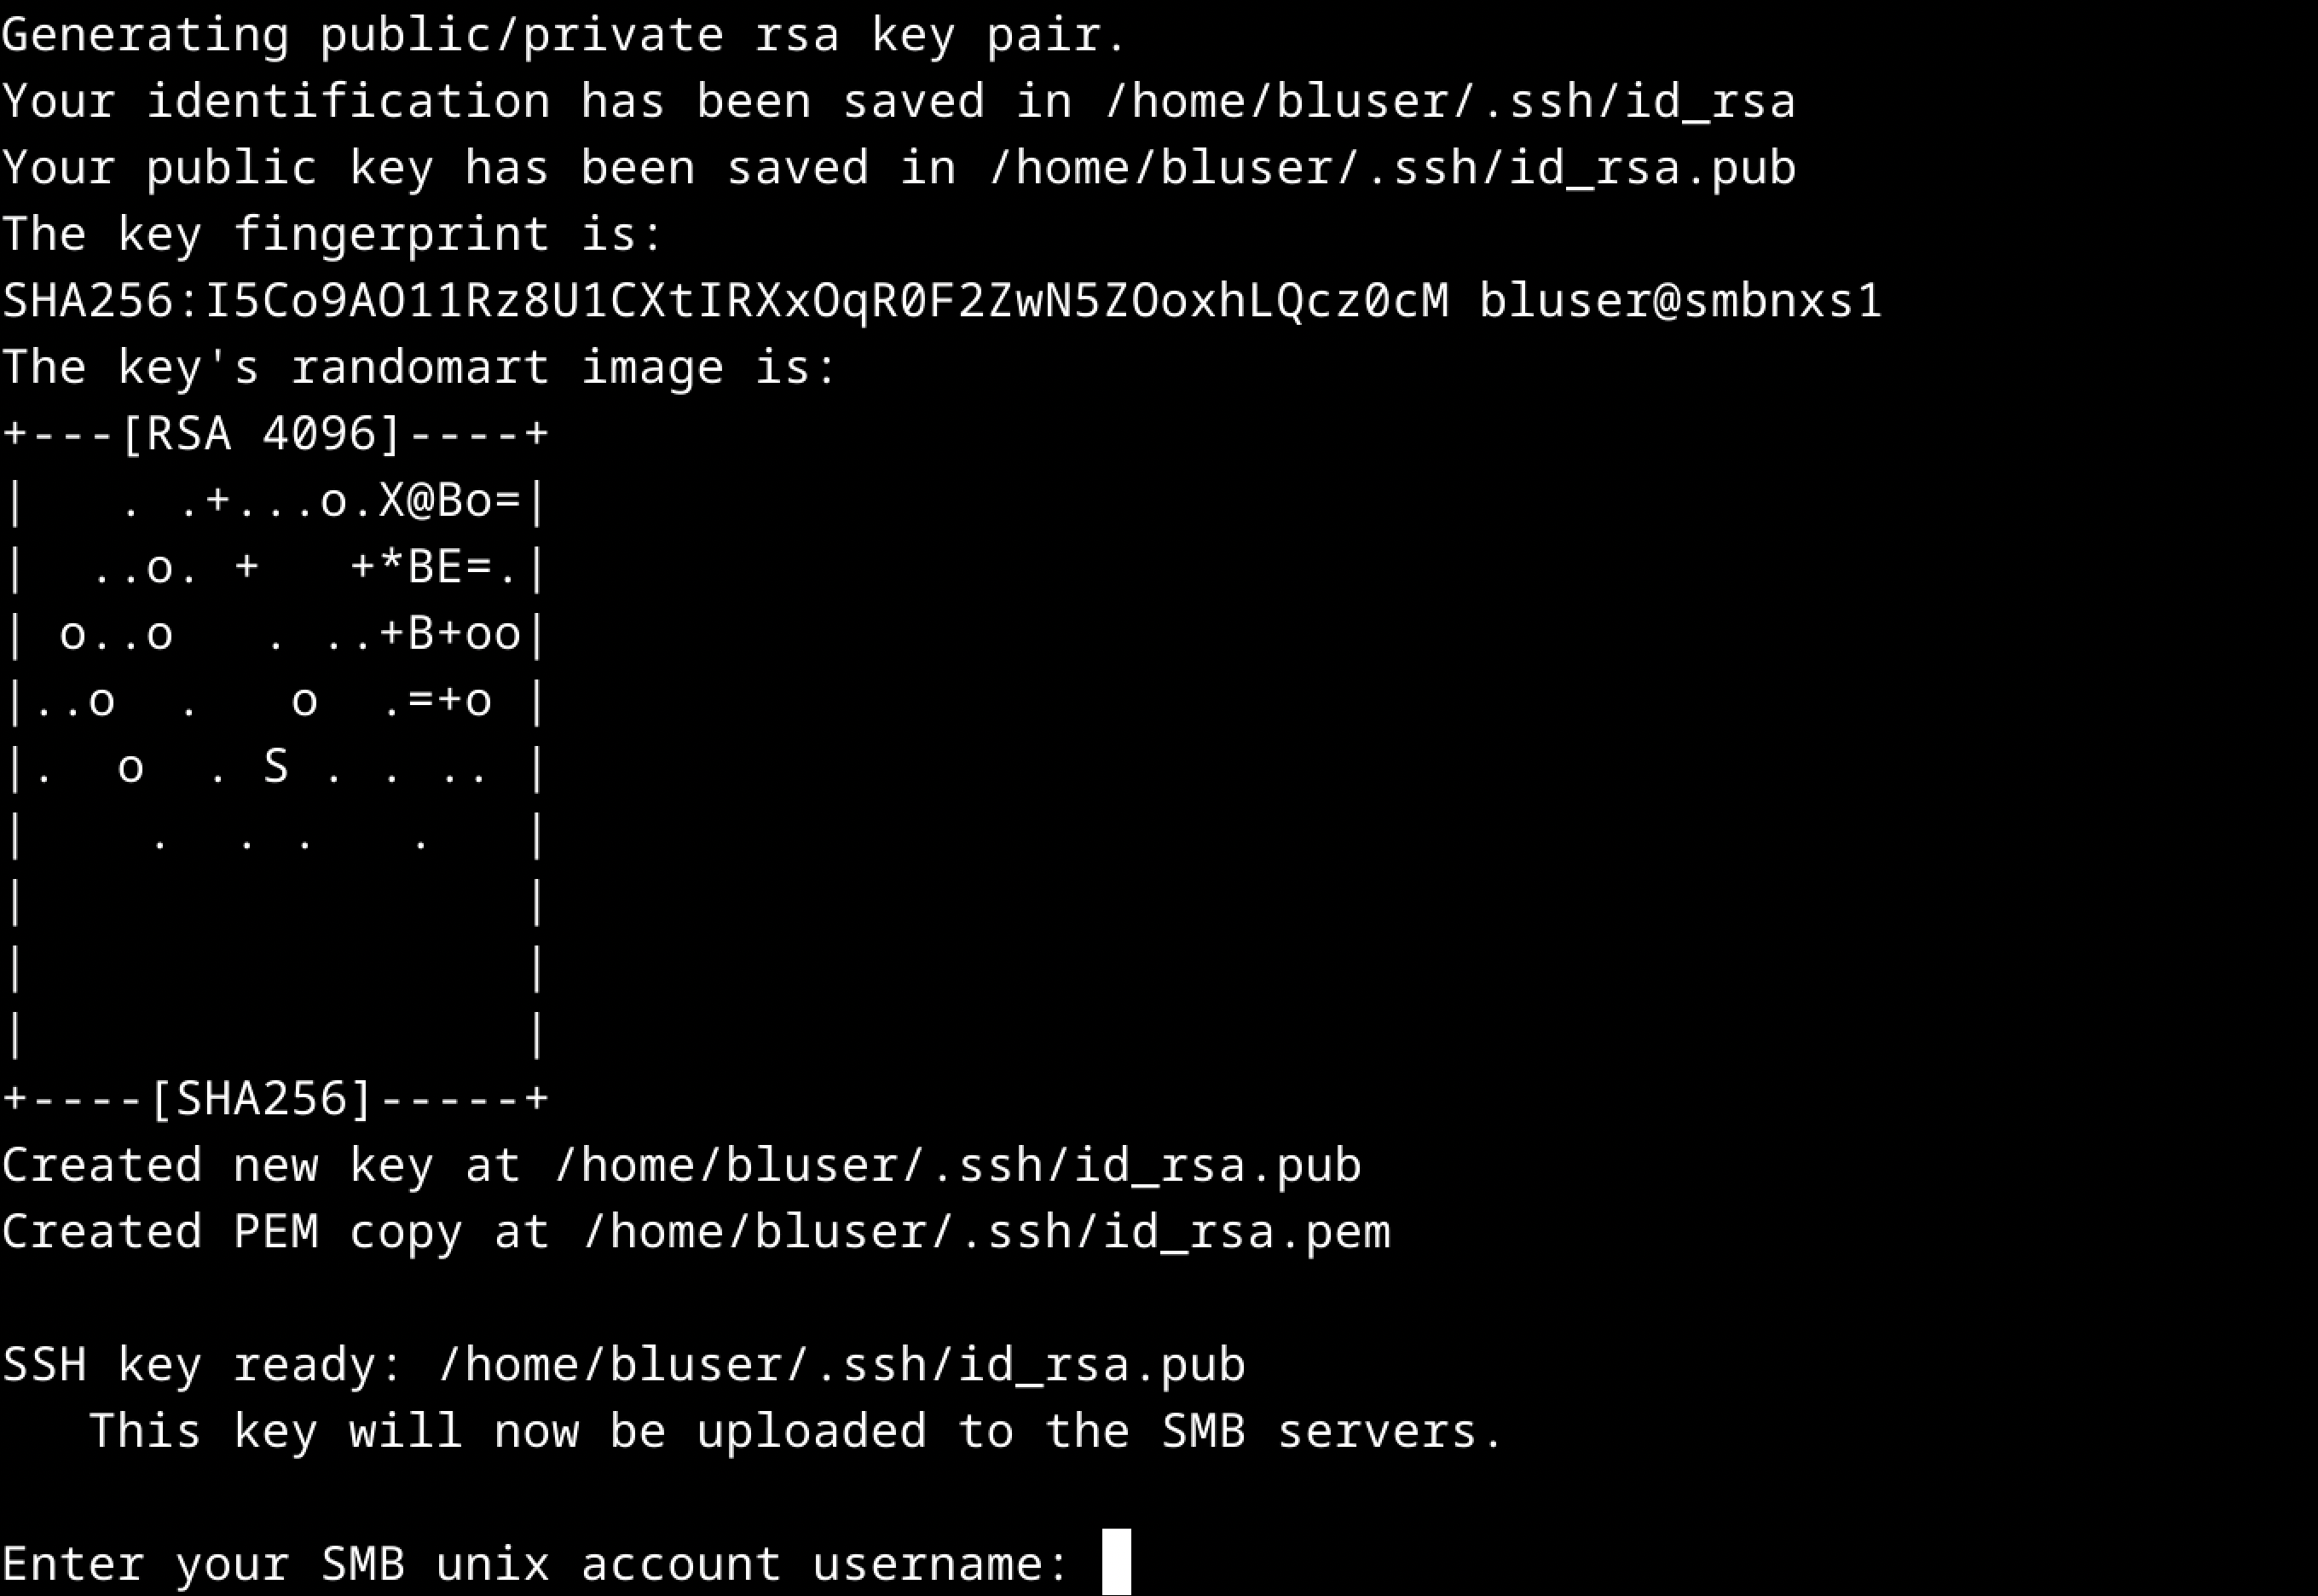
First, the script will check if you have a public SSH key, and create one if you do not already have one.
Step 3. You will be prompted to enter your SMB Unix account username. Please type the username and press Enter.
Step 4. Type the password to your SMB Unix account and press Enter.

Step 5. Type your email address (e.g., jdoe@stanford.edu) and press Enter.

Step 6. Type your full name (e.g., John Doe) and press Enter.

Step 7. Type your phone number (e.g., 626-395-1234) and press Enter.

Step 8. Type your device name (e.g., MacBook Pro, Lab Workstation) and press Enter.

Step 9. Write a comment about this key installation (this step is optional) and press Enter.

At this point:
- Your public SSH key (~/.ssh/id_rsa.pub) has been copied to your ~/.ssh directory on the SMB servers and saved in a file called authorized_keys associated with your account.
- You've created a copy of your key (
id_rsa) in.pemformat, for convenience when using FileZilla to transfer files. - You've generated NoMachine configuration files for
smbnxs1andsmbnxs2, enabling key-based SSH connections to our servers.
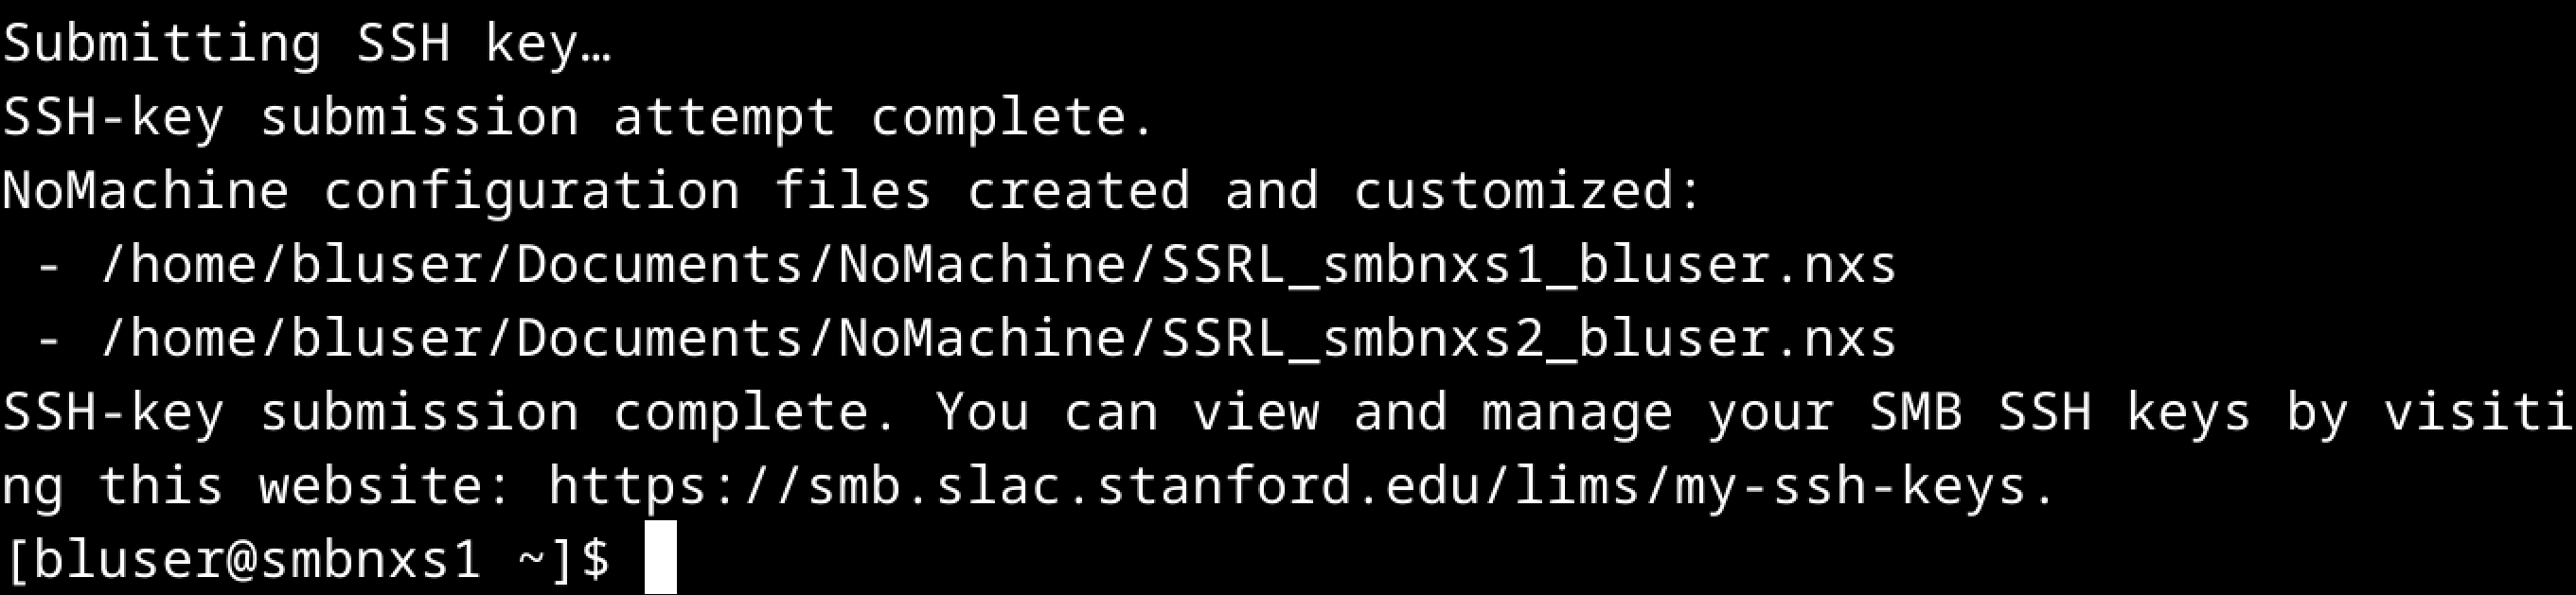
Your public SSH key has been successfully added to the SMB servers! You should now be able to log in via SSH without entering a password.
Manage your group’s SSH keys at this website.
Step 10. Open NoMachine and click on either of the newly created icons (SSRL_smbnxs1_username or SSRL_smbnxs2_username) to log in.
Test your login
Once your public ssh key has been added, you’ll be able to login to the SMB servers using your terminal. To test this, open a terminal window and run the following command, replacing username with your SMB Unix account name:
ssh username@smbnxs1.slac.stanford.eduIf everything is set up correctly, you should connect without being prompted for a password.