|
Back
to Remote Unix Desktop
Installing and configuring the NoMachine Client
This document briefly describes how to download and configure the
NoMachine Client to enable remote access to SSRL Crystallography
systems. For full documentation of the NoMachine software, please
consult the NoMachine
Support pages. In particular the tutorial "How
to run a virtual desktop session".
Download and installation
The client is available as "click-to-install" packages
for Windows and Mac OS X. Install the program by following the installation instructions provided on the NoMachine site.
Linux packages are available in "rpm" format for RedHat/Fedora/Centos
and in "deb" format for Debian/Ubuntu. A tar.gz package is
also available for a manual install.
Configure
Installing an ssh key
After installing the NX client program, you next need to install an ssh key to be able to connect with NX to SSRL.
If you choose option B in these instructions,
and run the ssh-key script, the NX client software will be automatically configured and two connection options will be added
to the Nomachine startup screen (SSRL_smbnxs1_username and SSRL_smbnxs2_username).
Use this shortcut to connect through NX to SSRL.
If you instead choose option A
and add an ssh key manually, you will next need to follow the instructions below to manually configure the NX client.
Manual Configuration (Follow these instructions if you chose to manually add an ssh-key, option A, as described above.)
Starting the software
- Windows: Double click on 'NoMachine Enterprise
Client' shortcut on your desktop. You can also find it in the
Start menu; Start -> All Programs -> NoMachine ->
NoMachine Enterprise Client
- Mac OS X: In the "Applications" folder,
click on "NoMachine"
- Linux: Depending on linux flavor, the program will
appear in menus or launchers as "NoMachine
Player"
The command line executable is called
"nxplayer", but the default installation does
not add it to your PATH.
% /usr/NX/bin/nxplayer
Add a new connection
- The screen will normally show you a list of
configured connections. If this is your first time through it
should be empty. Once you have configurations, this will be your
startup screen.
- Click on the "Add" icon.

Configure the new connection
New Connection - Machine Address
- Give a name to your connection (e.g. username_smbnxs1).
- Enter the name of the host server to connect to. SSRL is currently
running two NoMachine servers:
-
- smbnxs1.slac.stanford.edu
- smbnxs2.slac.stanford.edu
- Select port 4000 and NX protocol (note: for SSH protocol please use port 22).
 New Connection - Machine Configuration
- Un-check the "Use UDP communication for multimedia data"
option as we are blocking that at SSRL.
Having it checked slows you down a little as the client tries to
use extra functionality, but it will not cause any failure.
- Un-check the "Proxy" option, unless you know that your site requires a proxy to reach SSRL.
- Select Use key-based authentication with a key you provide and click on the Modify icon.
 - Enter your rsa private key and go back to the main page.
 - Click on the "Add" icon to finish the configuration.
 - Your new connection configuration is completed and the connection is displayed
in the startup screen.
- Tip: Once you have finsihed creating this profile, go
back and create a second one for the other server host.
Connect
- Select your connection from the startup screen.
- Click on the Connect icon.

Host Certificate
- If it's the first time you connect to this host
you will be asked to verify that the certificate is authentic.
- Our NX host certificates should have the following finger prints
- smbnxs1 -
9E:6A:32:1F:48:2A:36:73:70:5E:40:A8:C1:E3:CE:E8:BA:BD:23:db:F8:8B:F8:00:B2:14:36:15:82:BE:F8:F9
- smbnxs2 -
44:3F:D9:DC:BF:43:97:A5:26:7D:B1:8B:5A:8C:AA:1E:63:A7:73:0B:0D:46:74:02:7E:4B:54:C9:F4:B0:C1:CA

First Login
- Fill in your username
- Press the OK button

Create a new session or Reconnect to an old one
- The default session screen has a list of all current
sessions. To only see your sessions click on "All
Desktops" and select "My Desktops". This is likely
to be empty if this is you first session. This screen is where you
would reconnect to a previous session that has been
disconnected.
- Click on "Create a New Desktop"

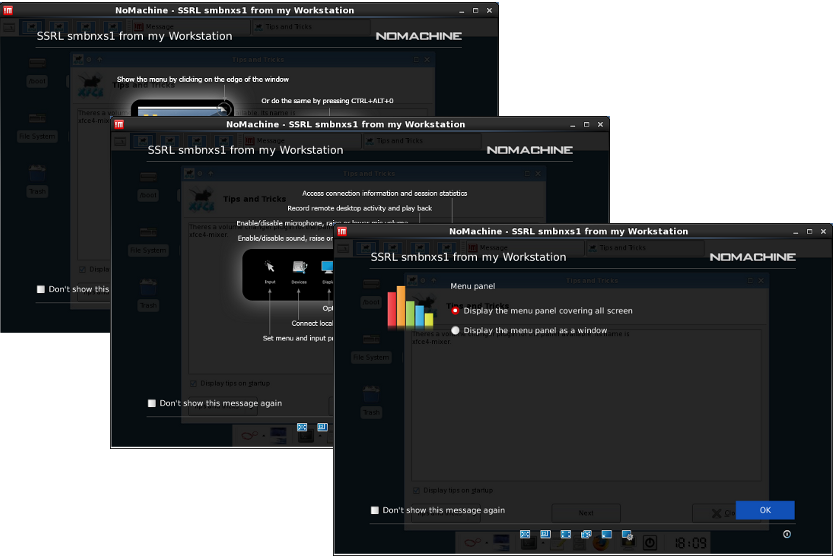
Info Screens
- A series of screens with useful "first
time" information will be presented while the session is
starting up in the background.
- By clicking in the check box, you will net see these
screens at your next login.
Logged In - At Last
- Finally, we are logged in to the remote server.

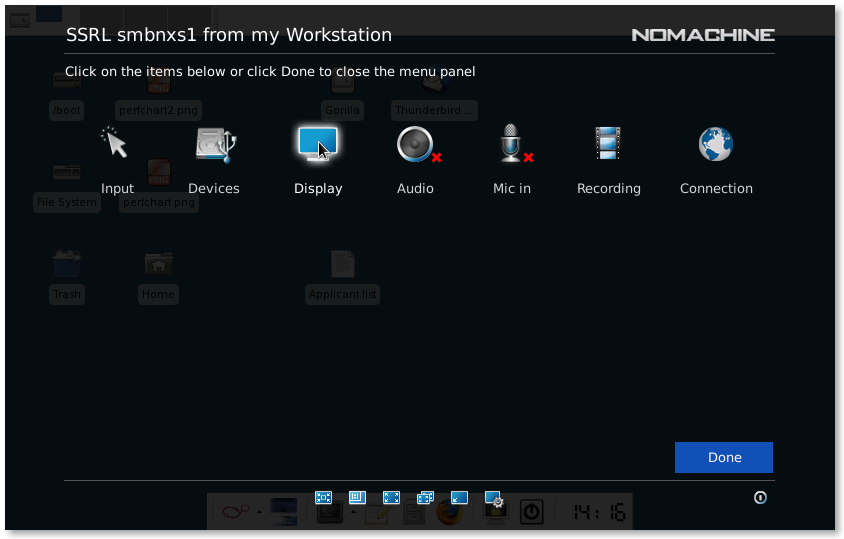
Tuning the configuration
There are a lot of configuration options available from the
overlays that you can reach by moving the mouse to the upper right
corner of the virtual desktop and click inside the peel-down. Most of
the options are fine with being left at the default value. There a
couple of settings that might be useful to know howto to change
though.
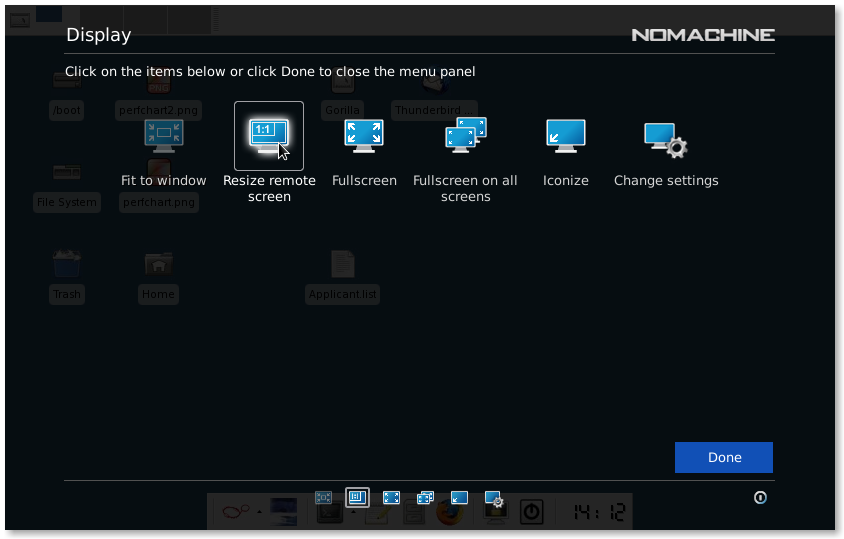
- Make the virtual screen resolution match you local resolution
when you resize the session window.
-
- Peel down the config overlay from the upper right corner
(or press Ctrl+Alt+0)
- Click on the Display icon
- Select the icon that is labeled Resize remote
screen, the white frame around the icon indicates the
it's activated.
|
