|
Back
to Remote Unix Desktop
Installing and configuring the NoMachine 4 Client using SSH.
Note: The preferred protocol to use for connecting is
NX, see documentation here,
but using SSH is fully supported.
This document briefly describes how to download and configure the
NoMachine Client to enable remote access to SSRL Crystallography
systems. For full documentation of the NoMachine software, please
consult the NoMachine
Support pages. In particular the tutorial "How
to run a virtual desktop session". For a quick overview of
how to use the client to connect to SSRL, see this video
tutorial
Download and installation
With version 4 of the NoMachine software, there are several server
and client products. On the client side there are two to pick
from.
- NoMachine Free Personal Edition (This is also a single user
server)
- NoMachine Enterprise Client
Both will work equally well as a client for connecting to SSRL.
The first one, is the version that is offered when you visit
NoMachine's home page. Be aware that a network facing server is
being installed if you use the "Personal Server" option. It
may very well be a useful option for you, but for the purpose of
connecting to SSRL, we recommend installing the Enterprise client. It
includes the client software only.
It is possible to turn off the server part in the Personal Server
after it's been installed, see this NoMachine
Support article.
The client is available as "click-to-install" packages
for Windows and Mac OS X. If you install on Windows, also download
all the available add-on fonts from the download page. Follow the
installation instructions provided on the NoMachine site. Linux
packages are available in "rpm" format for RedHat/Fedora
and in "deb" format for Debian/Ubuntu. A tar.gz package is
also available for a manual install.
Configure
Starting the software
- Windows: Double click on 'NoMachine Enterprise
Client' shortcut on your desktop. You can also find it in the
Start menu; Start -> All Programs -> NoMachine ->
NoMachine Enterprise Client
- Mac OS X: In the "Applications" folder,
click on "NoMachine"
- Linux: Depending on linux flavor, the program will
appear in menus or launchers as "NoMachine
Player"
The command line executable is called
"nxplayer", but the default installation does
not add it to your PATH.
% /usr/NX/bin/nxplayer
- You will be greeted by a "First Time
Configuration" window.
- Click Continue
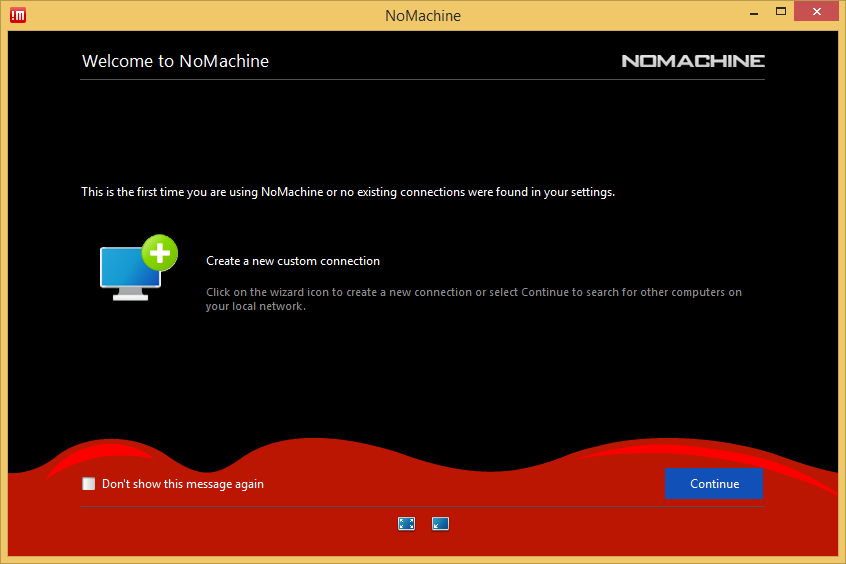
Add a new connection
- Next screen will normally show you a list of
configured connections. If this is your first time through it
should be empty. Once you have configurations, this will be your
startup screen.
- If you previously had NX Client 3.5.0 installed,
there may be old configurations showing up here. Remove them by
right clicking on the connection symbol and select "Remove
connection"
- Click on the "New" icon or
on text between the <...> symbols.
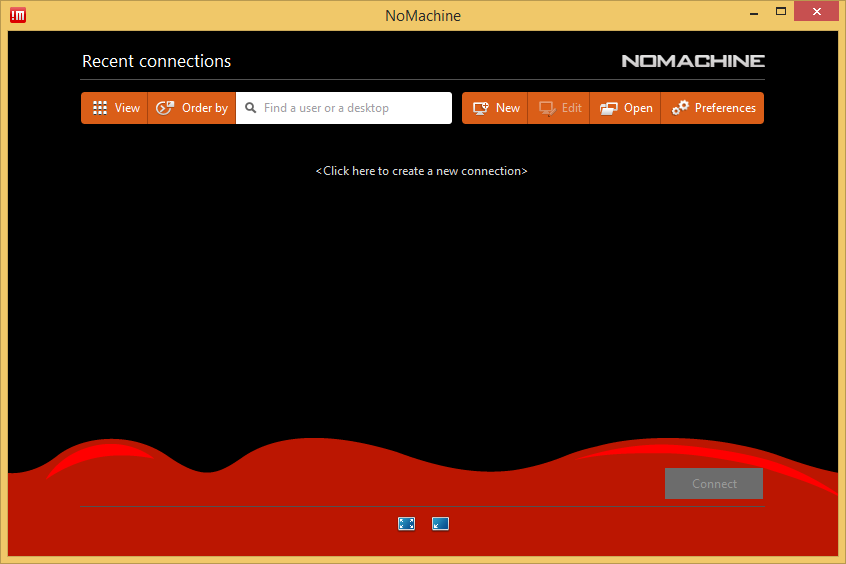
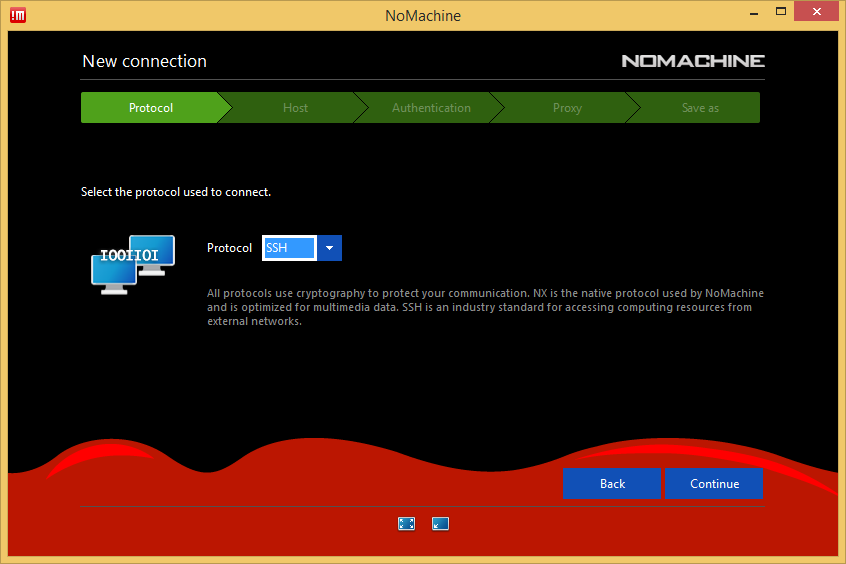
New Connection - Protocol
- The default and preferred protocol is
NX, to use SSH instead, select it
in the pulldown.
- Click Continue
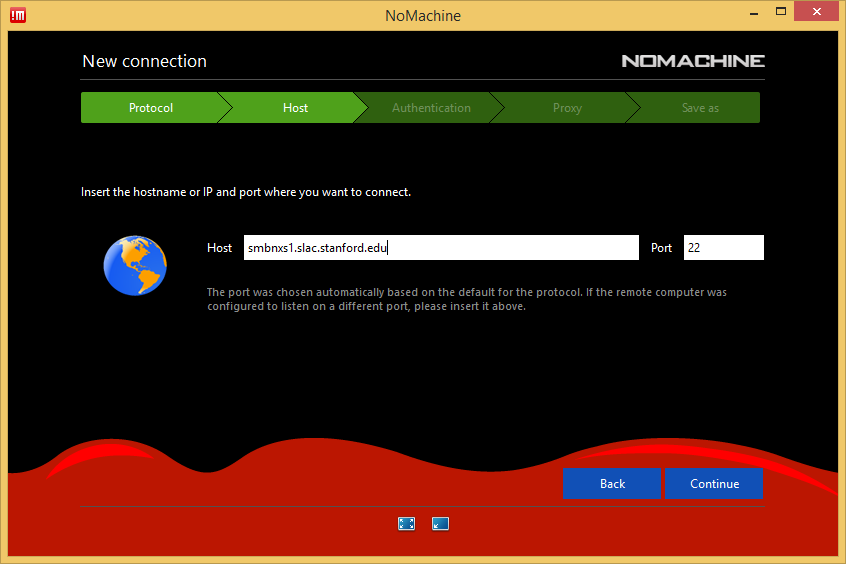
New Connection - Host
- Enter the name of the server to connect to. SSRL is currently
running two NoMachine servers.
-
- smbnxs1.slac.stanford.edu
- smbnxs2.slac.stanford.edu
- Tip: Once you have completed and saved this profile,
create a second profile for the other server host.
- Click Continue
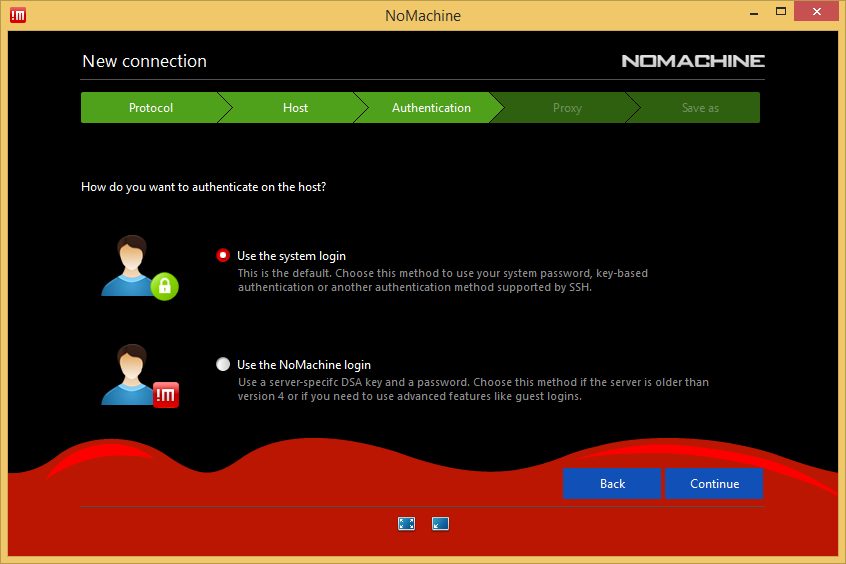
New Connection - Authentication
- Leave the default "Use system
login" in this screen.
- Click Continue
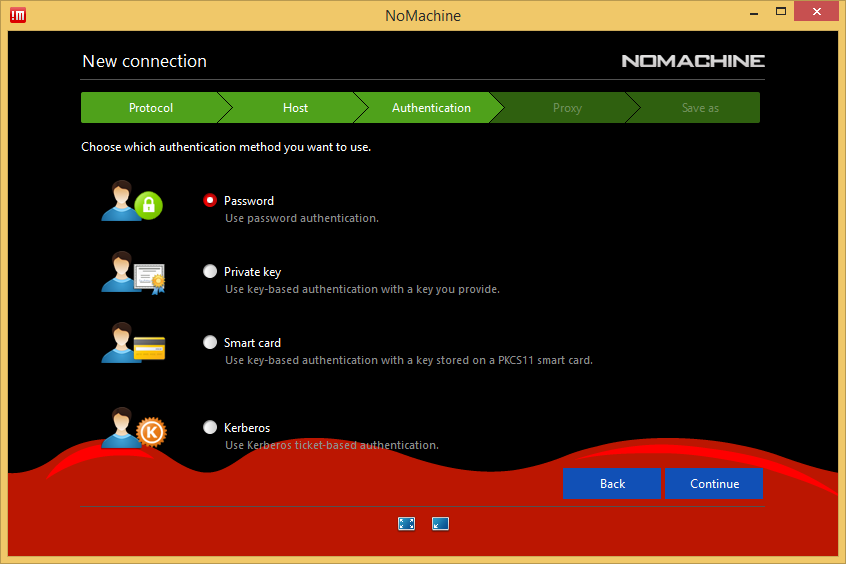
New Connection - Authentication Method
- At the moment, only "Password
" authentication is supported.
- Click Continue
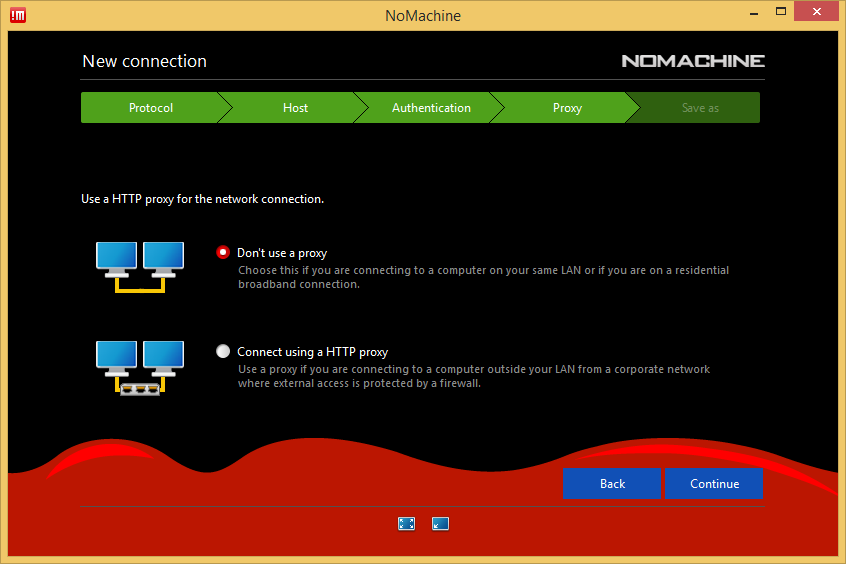
New Connection - Proxy
- This option depends on the network layout of your
site.
Unless you know that your site requires a proxy to reach SSRL,
leave this with the default: "Don't use a
proxy"
- Click Continue
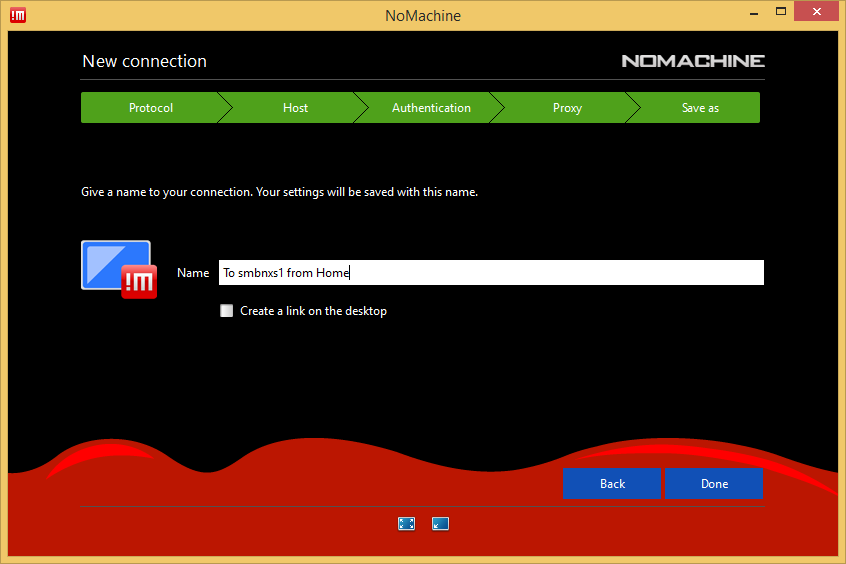
New Connection - Save As
- Give your new configuration a unique name.
- Do not re-use the same configuration name on
different computers.
- Click Done, and you get back to the
Connections screen.
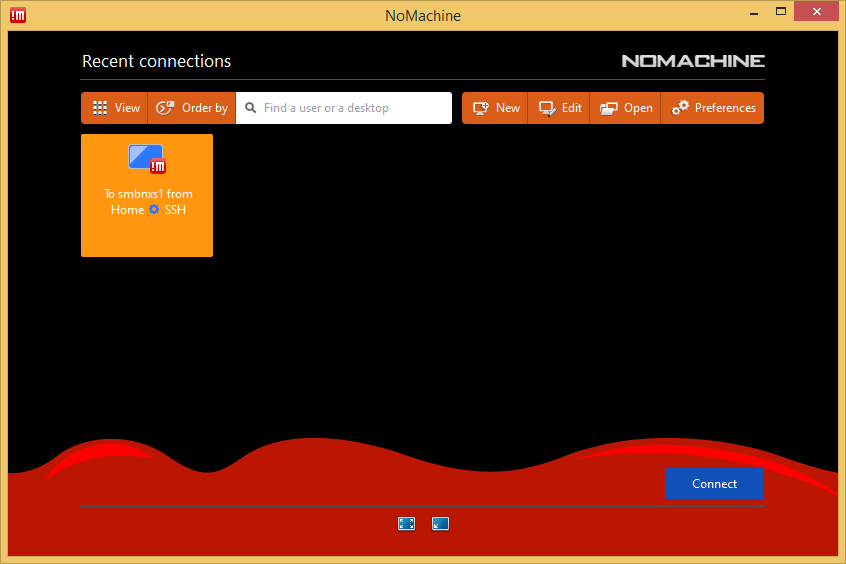
Connect
- This will be your first screen when you start the
NoMachine Client next time.
From here you can create new configurations, edit old ones, modify
local configuration and connect to a server.
- Select your preferred configuration and click on
Connect.
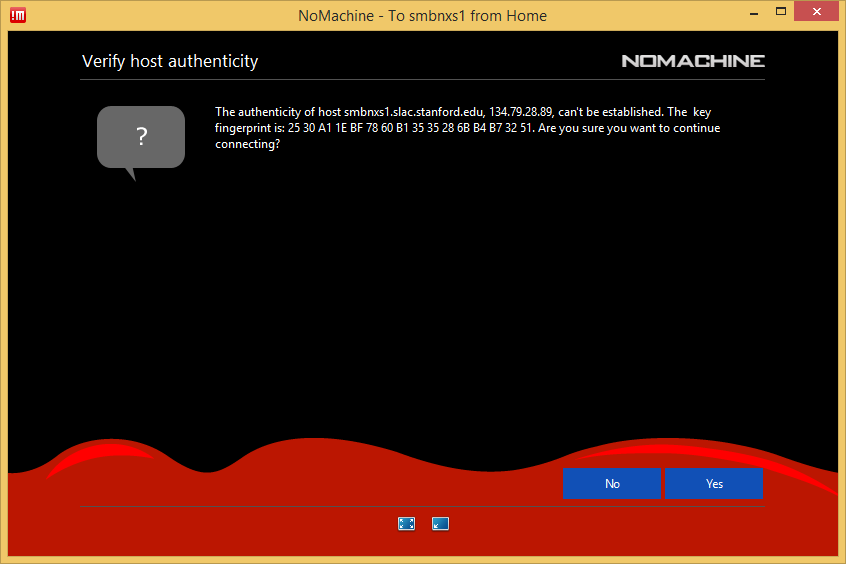
Host Certificate
- If it's the first time you connect to this host
you will be asked to verify that the certificate is authentic.
- As of January 2015, our SSH host certificates should
have the following finger prints
- smbnxs1 -
25:30:a1:1e:bf:78:60:b1:35:35:28:6b:b4:b7:32:51
- smbnxs2 -
8e:6a:8e:de:14:90:da:db:86:17:d3:f0:c0:84:8f:2c
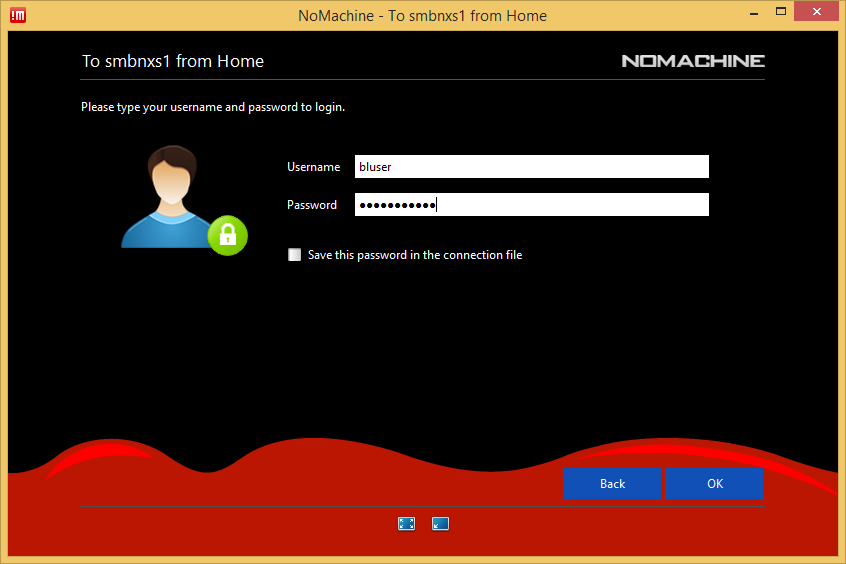
First Login
- Fill in your username and
password
- Press the OK button
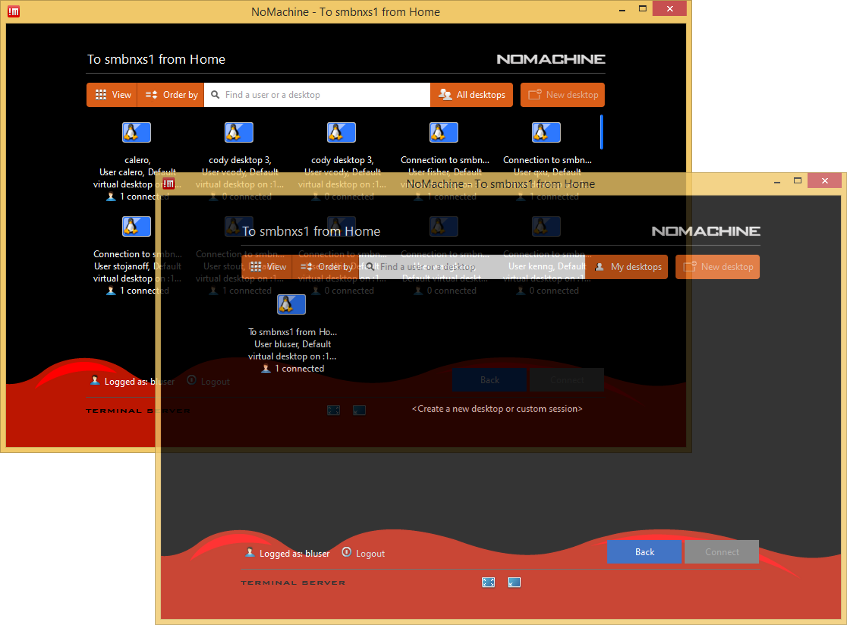
Create a new session or Reconnect to an old one
- The default session screen has a list of all current
sessions. To only see your sessions click on "All
Desktops" and select "My Desktops". This is likely
to be empty if this is you first session. This screen is where you
would reconnect to a previous session that has been
disconnected.
- Click on "Create a New Desktop"
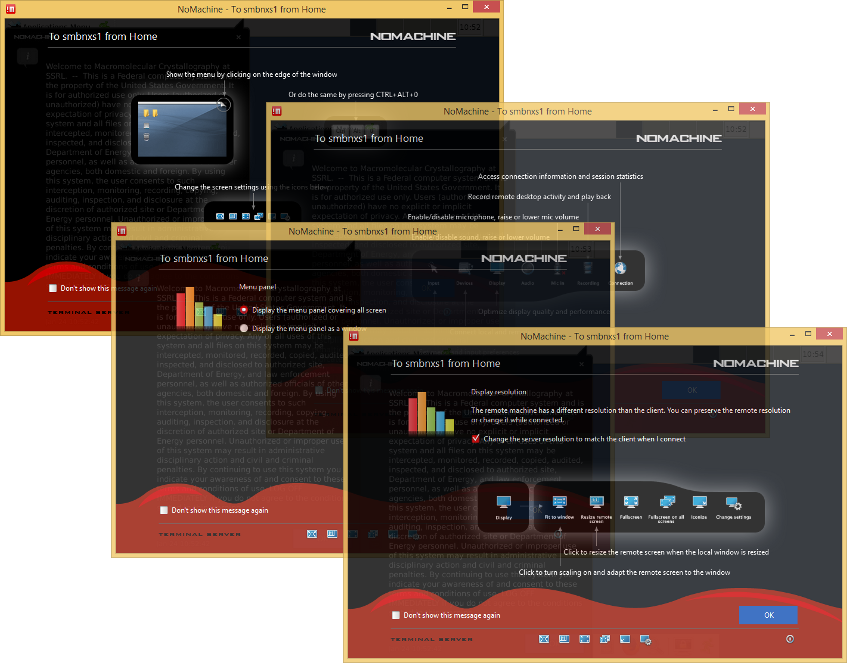
Info Screens
- A series of screens with useful information will be
presented while the session is starting up in the background.
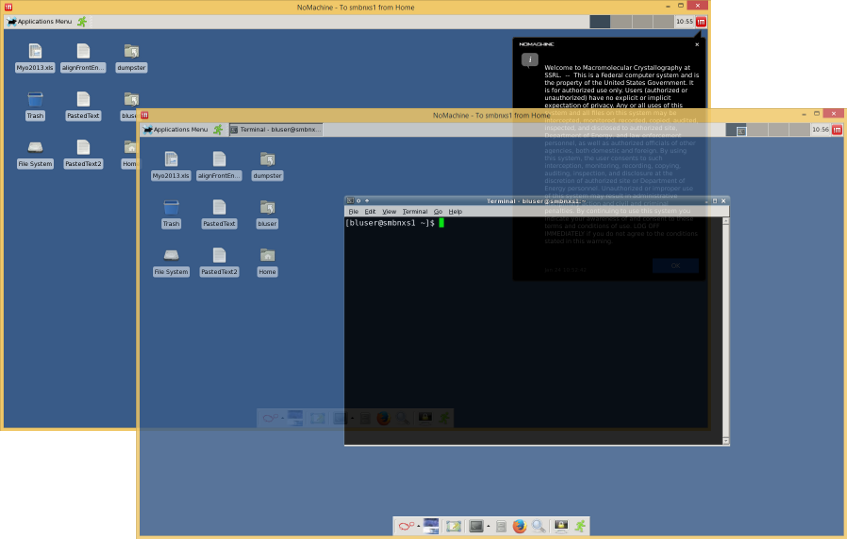
Logged In - At Last
- Finally, we are logged in to the remote server.
Tuning the configuration
There are a lot of configuration options available from the
overlays that you can reach by moving the mouse to the upper right
corner of the virtual desktop and click inside the peel-down. Most of
the options are fine with being left at the default value. There a
couple of settings that might be useful to know how to to change
though.
- Make the virtual screen resolution match you local resolution
when you resize the session window.
-
- Peel down the config overlay from the upper right corner
(or press Ctrl+Alt+0)
- Click on the Display icon
- Select the icon that is labeled Resize remote
screen, the white frame around the icon indicates the
it's activated.
-
|

